Arduino
Arduino project`s by Pavel Bandaletov
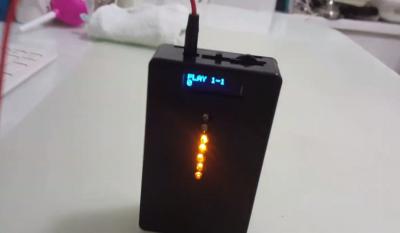
AY Player v.1.4
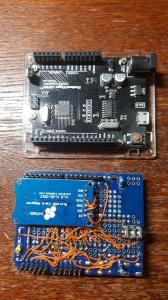
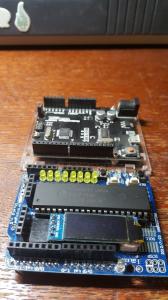
Arduino UNO R3 + I2c Display 128x32 + AY8912 / YM2149F + SD Reader
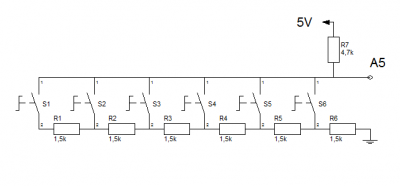
Убрана задержка при переходе в режим рандома и баг с замедлением музыки. Показ файлов сразу идет, добавлены красивые индикаторы каналов и красивая полоска с процентами, если при резете нажать любую кнопку - будет показывать коды кнопок на A6. по умолчанию - не нажатая кнопка - более 400 (притянуто к VCC), RANDOM- 0-100 (GND), LEFT- 150-200, RIGHT - 300-350
UPD 07.03.2021
Changed Adafruit5x7.h font for better vumeter symbol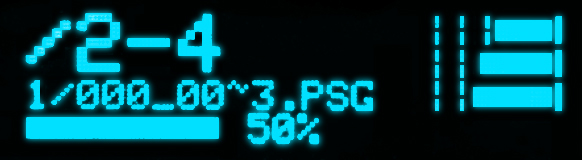
AY Player v.1.3
Arduino UNO R3 + I2c Display 128x32 + AY8912 / YM2149F + SD Reader
Requirement: see below v1.2 / UPD: Removed Vu-meter & Filename flickering
Schematic: https://m.habr.com/ru/post/392625/
AY Player v.1.2
Arduino UNO R3 + I2c Display 128x32 + AY8912 / YM2149F + SD Reader
Requirement:
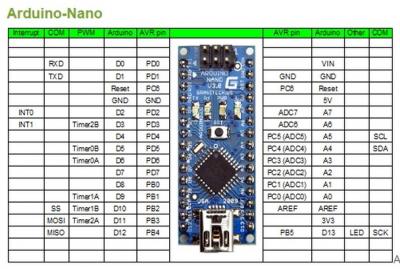
- Arduino UNO/NANO/LGT8F328P
- 1xSSD1306 128x32 OLED Display I2C
- 3xResistor 500-1k Ohm for analog buttons
- 1xResistor 4.7k Ohm for analog buttons Pullup
- 3 tacile Analog buttons
- 1xLion Battery 3.7V
- 1x TF Module for Arduino
- Case from Aliexpress
- Wires
- Switch ON/OFF
- Li-Pol 3.7V
- DC step UP to 5V
- Li-ON charge module
Schematic: https://m.habr.com/ru/post/392625/


Download sketch:
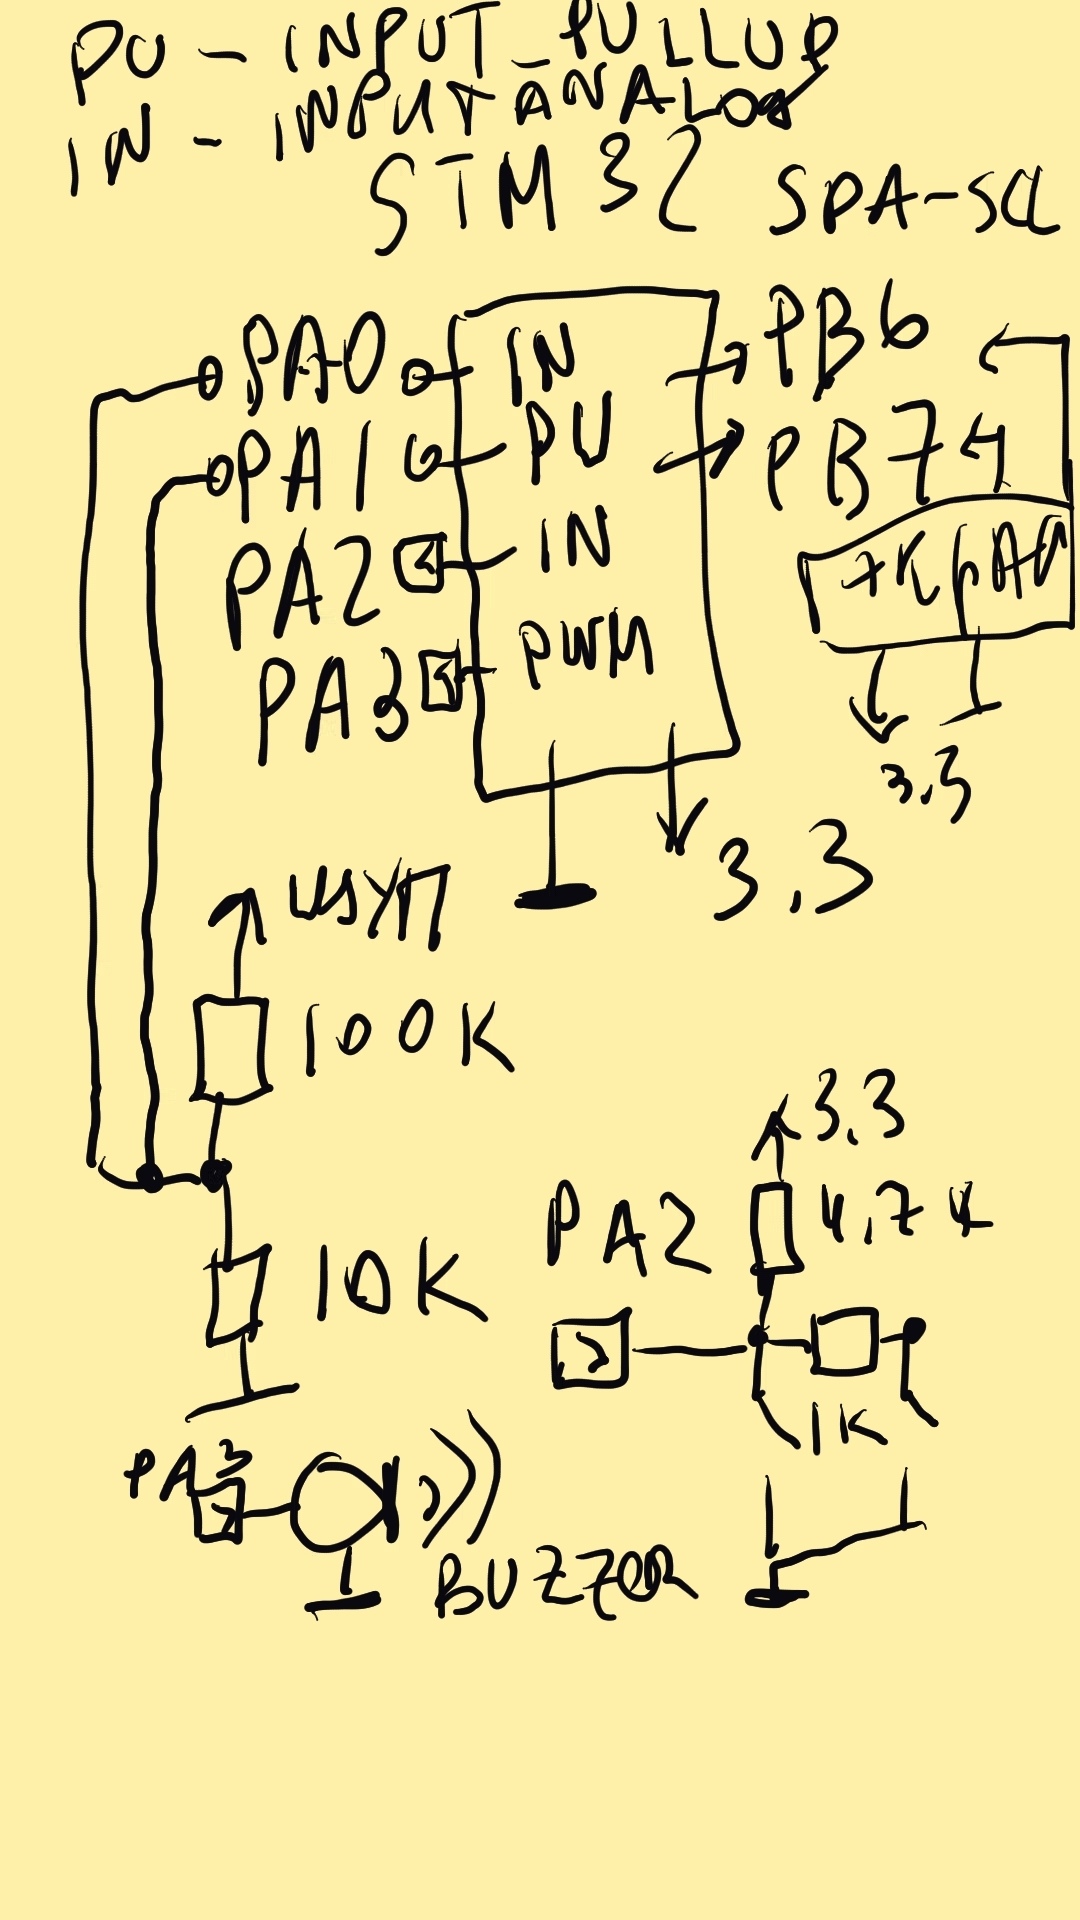
Arduino STM32F103C based multimeter + buzzer for circuit probe + I2c Display 128x32 - Digital and Analog voltage scale + battery status icon
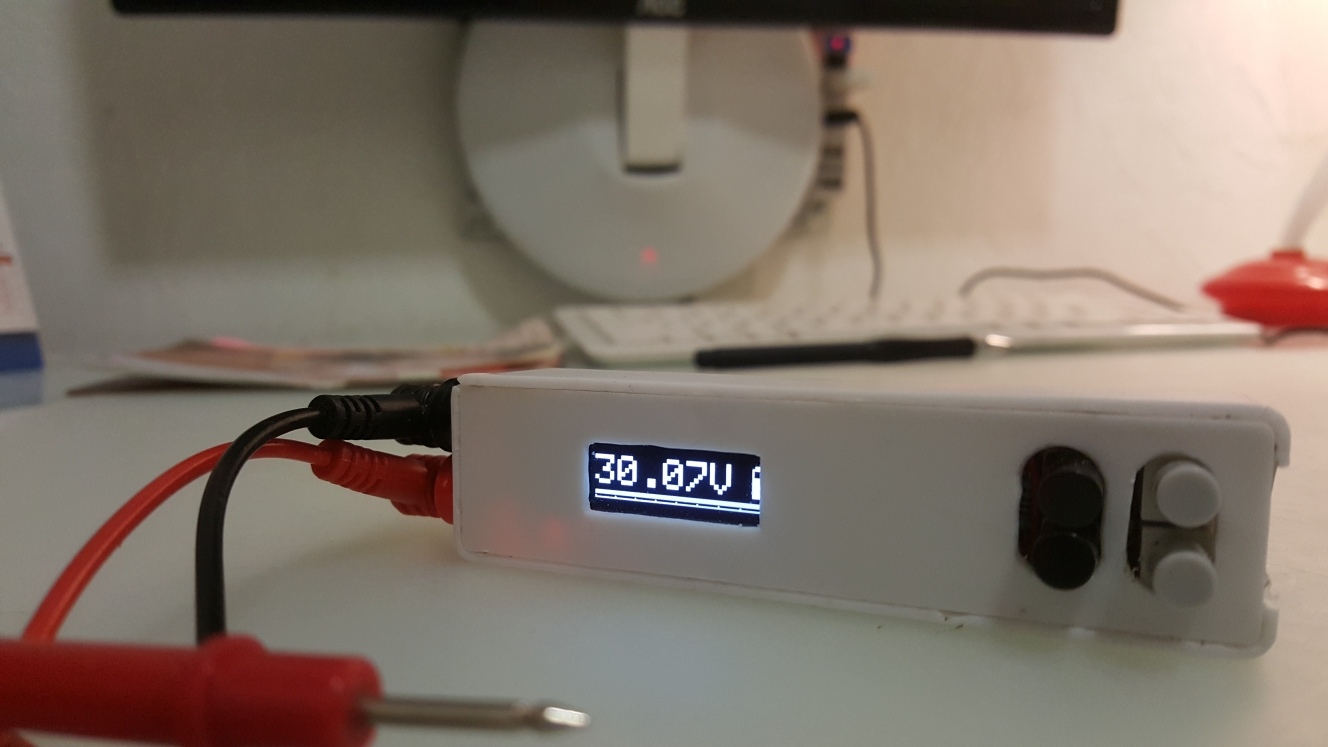
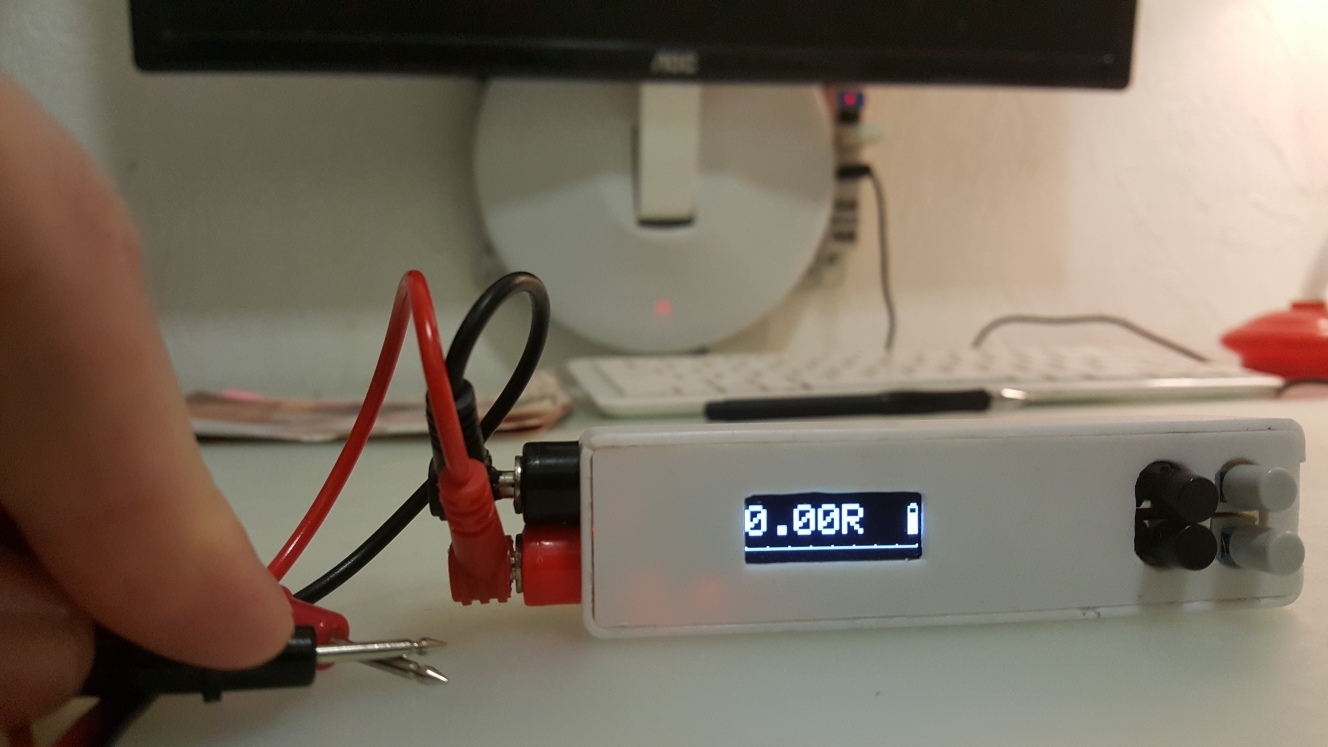
Requirement:
- STM32F103C Board (Blue Pill)
- 1xSSD1306 128x32 OLED Display I2C
- 2xResistor 500-1k Ohm for analog buttons
- 1xResistor 4.7k Ohm for analog buttons Pullup
- 2xResistor 100K Ohm for analog analog input
- 2xResistor 10kOhm for analog analog input
- 2 tacile buttons for Analog buttons
- 2 switch
- 1 buzzer for circuit probe
- 1xLion Battery 3.7V from quadrocopter
- 1x DC Step Down AMS 1117 stabilizer to From 5V to 3.3V
- Some textolite for button
- Case of Powerbank from Aliexpress
- Wires
Callibration process
Download sketch mlt.ino
UPD. Schematic
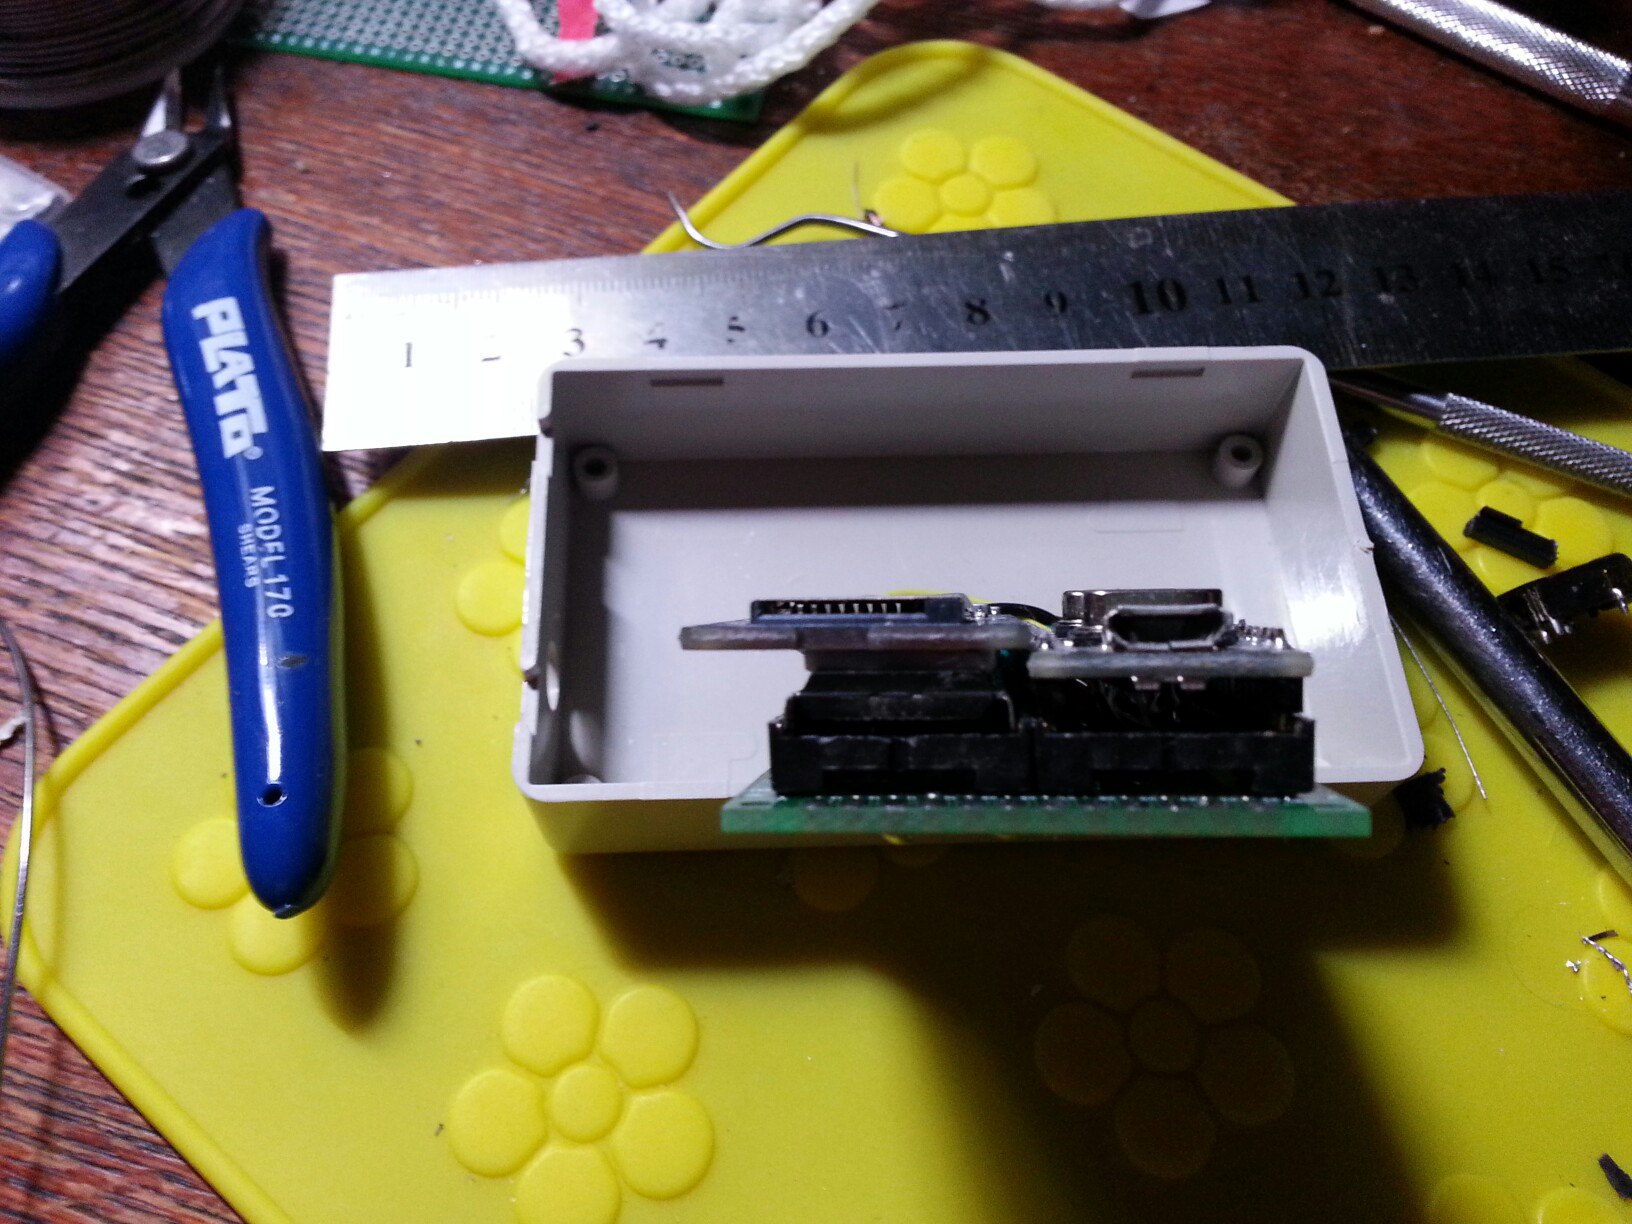
Arduino UNO based 24xx CHIP programmer + I2c Screen 1602 +SD Card
Based on Arduino UNO
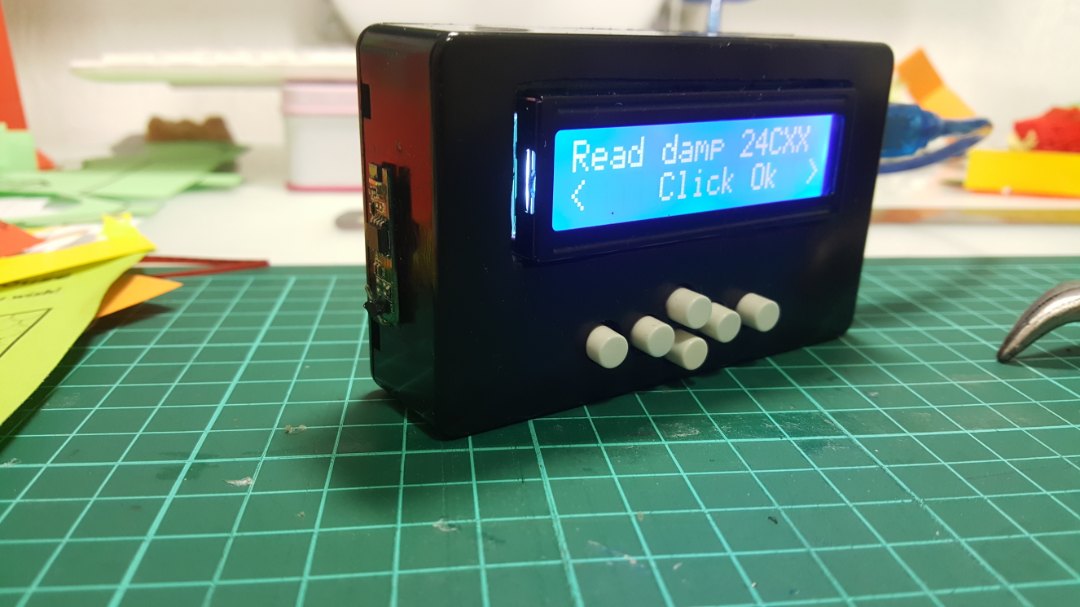
Requirement:
- Arduino UNO
- 1xSD Card Module
- 1x1602 Liquid Display I2C
- 5xResistor 500-1k Ohm for analog buttons PIN14 (A0)
- 1xResistor 4.7k Ohm for analog buttons PIN14 (A0) Pullup
- 6 tacile buttons for Analog buttons
- Some textolite for button
- Case DIY from Aliexpress
- Wires
Download sketch prg_uno.ino
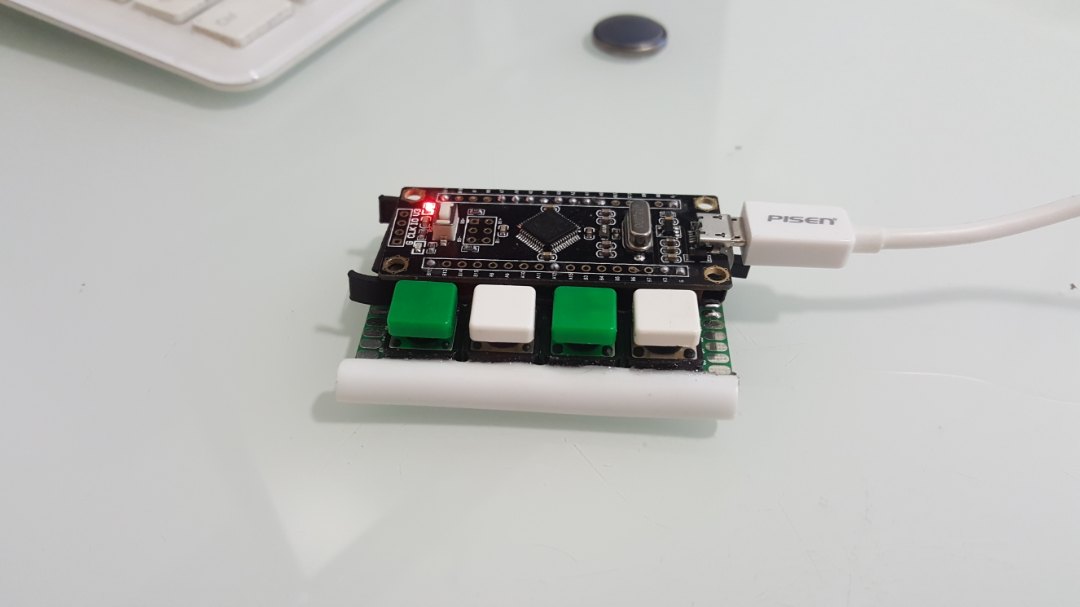
Arduino color Pong game on 1.44 TFT SPI display with 2 excellent bots, 4 levels and bosses!
Based on Arduino Nano v.3(328p) clone LGT NANO from wemos.cc (LGT8F328P) due it small size,12-bit ADC and 3.3 Volt
Requirement:
- Arduino Nano v.3 or LGT8F328P (clone from wemos.cc)
- 1xBuzzer to PIN6
- 1xResistor 479 Ohm for analog button 1 to PIN17 (A3)
- 1xResistor 1k Ohm for analog button 2 to PIN17 (A3)
- 1xResistor 2k Ohm for analog button 3 to PIN17 (A3)
- 3 tacile buttons for Analog buttons to PIN17 (A3)
- 1.44 TFT color LCD screen from Aliexpress 128x128 SPI (see .ino file settings for connection to SPI)
- 5v for LCS screen, 3.3v for LCD screen and microcontroller (I use AMS1117 3.3)
- Power switch
- Case for Powerbank 2x18XXX battery with lithium charger and 5Volt regulator) + 220 Ohm resistor for load more then 200mah total
Default after reset - Bot-Bot game (1 level)
Turn on/off green BOT - press OK (Code ready for human-human game also - see settings)
Switch levels:
Level 1 - Default
Level 2 - Press and hold UP and reboot
Level 2 - Press and hold OK and reboot
Level 2 - Press and hold DOWN and reboot
Libraries modded for 1.44 SPI color TFT (BLACK)
Download sketch pong.ino with libraries
STM32 (F103) Simon Say Game
Simple toy with 4 LED + 4 Tactile push buttons + 1 Buzzer
3 levels + Kids Piano to Play full mario music
1. When start game is on 1 level for youngest kids. To win you need to repeat only 4 notes
2. To switch to level 2 (8 notes) - press and hold #2 and push reset, wait mario song, then release button. To win you need to repeat 8 notes.
3. To switch to level 3 (99 notes for genius) - press and hold button #3 and then push reset, wait mario underworld song, then release button. On this level to win you need to repeat 99 notes. You may see your position at fleshlight. RED - 4 notes RED+YELLOW - 8 notes, RED+YELLOW+GREEN - 12 notes, ALL LEDS FLASHES - more then 16 notes. Check memory of your personal!
4. To switch to level 4 (Mario piano song) - press and hold button #4 and then push reset, wait led lights, then release button. You can play mario song!
Shematic:
RED Led to A5
YELLOW Led to A4
GREEN Led to A1
BLUE Led to A3
Button #1 to B1 (for red button)
Button #2 to A7 (for yellow button)
Button #3 to A6 (for green button)
Button #4 to A2 (for blue button)
Buzzer to A0
VIDEO
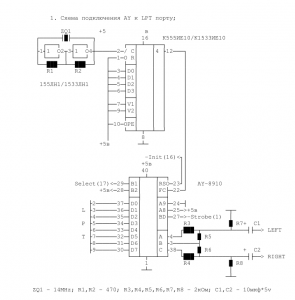
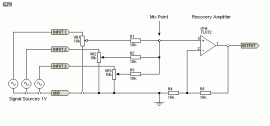
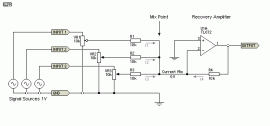
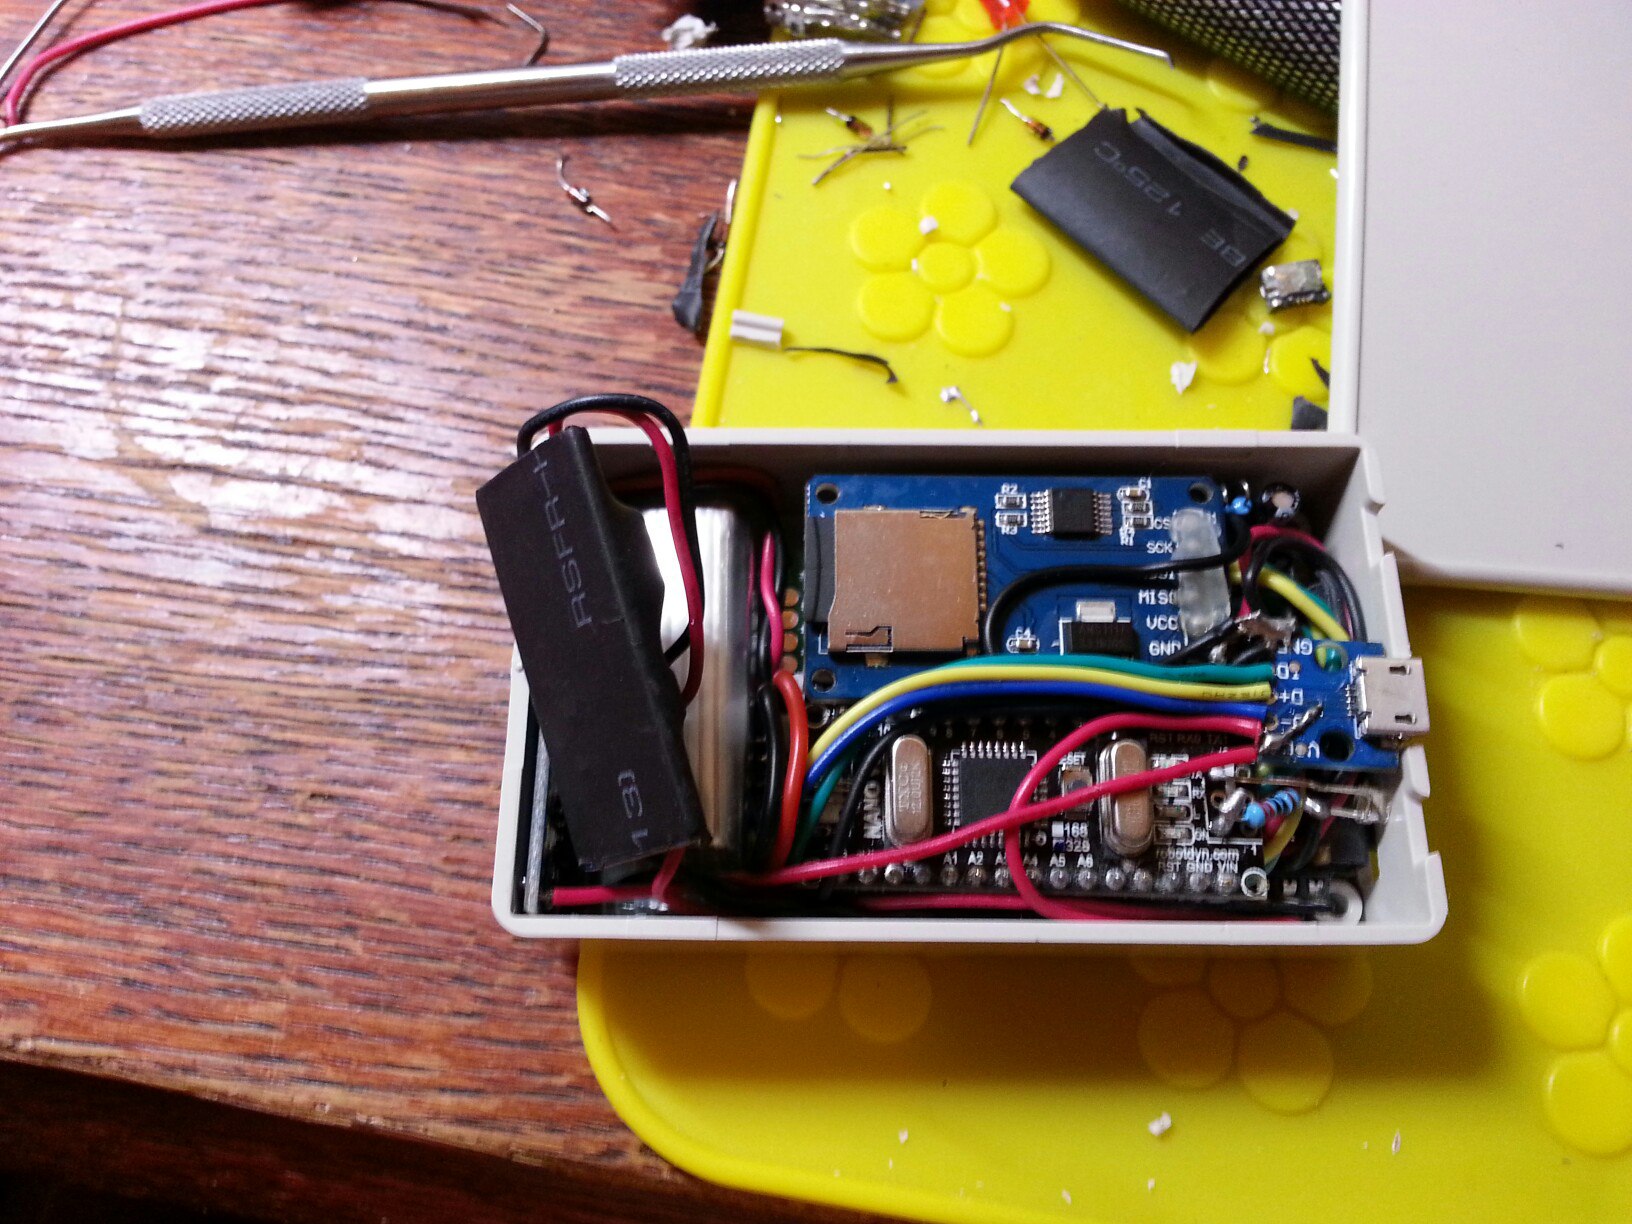
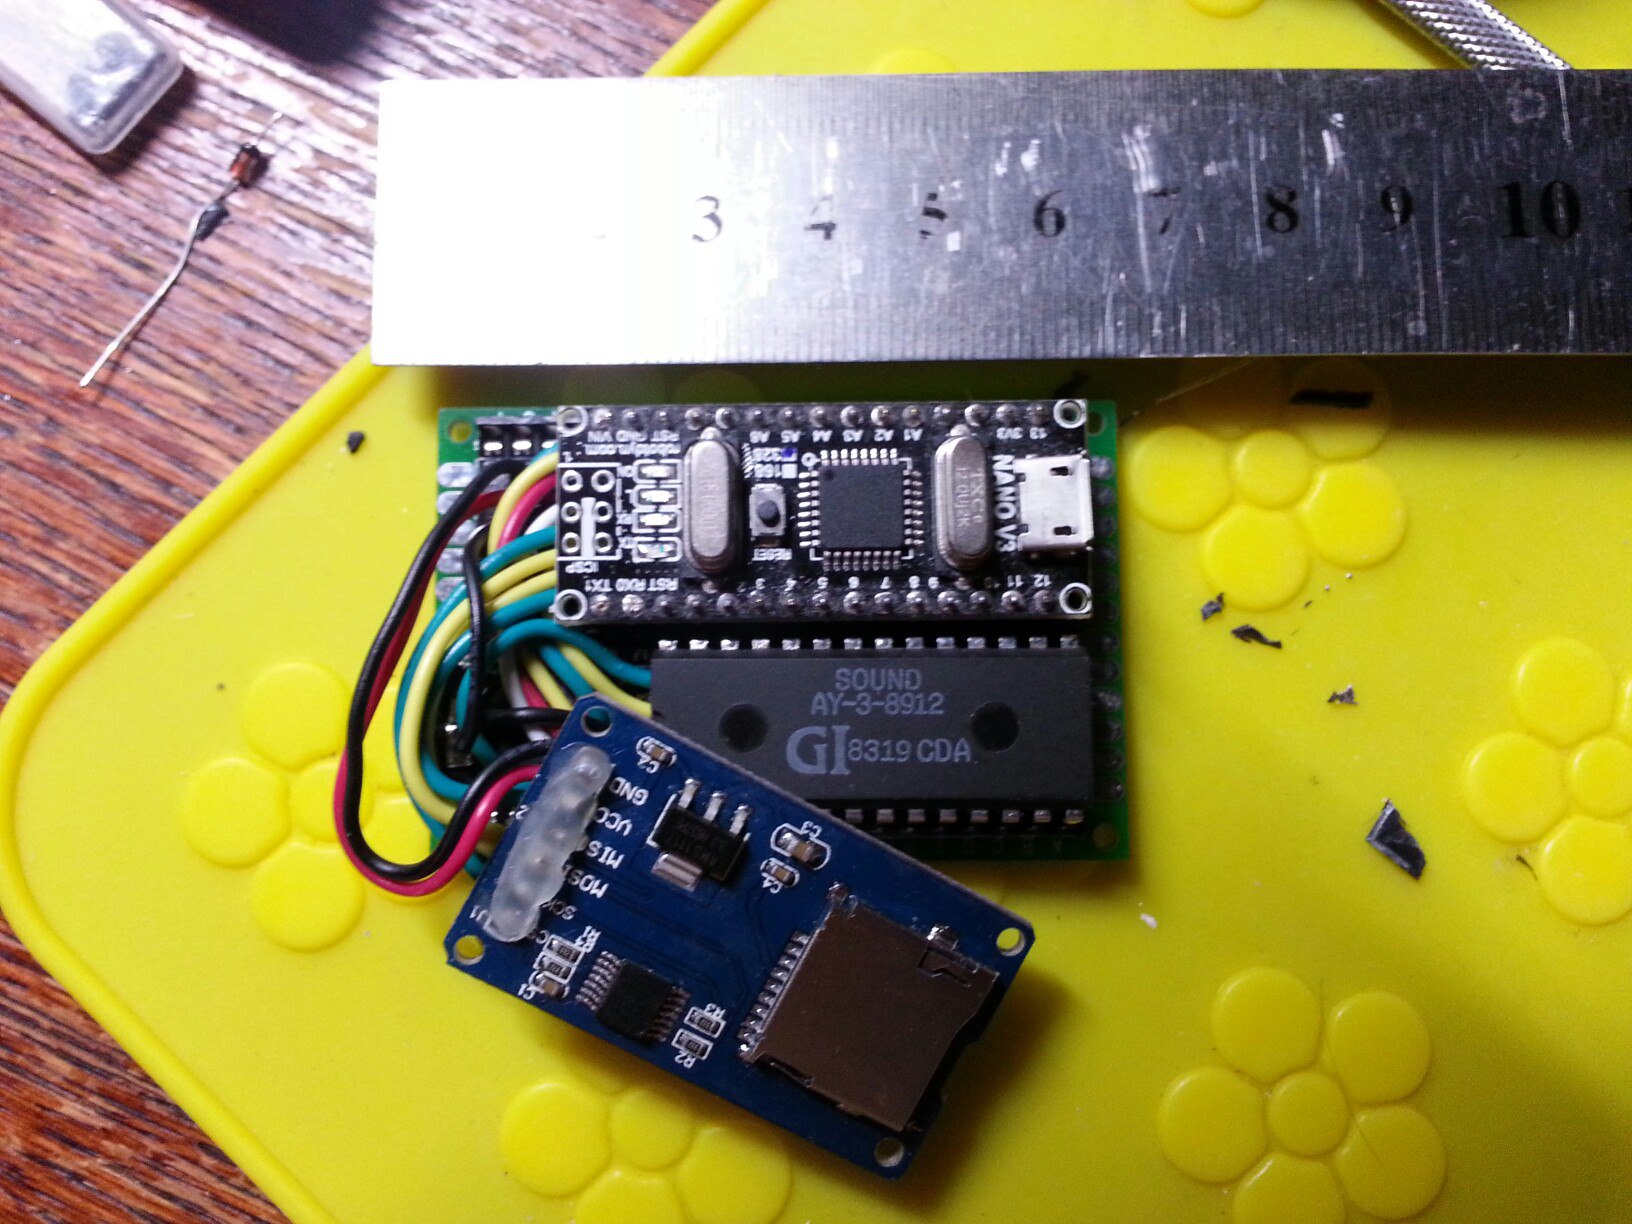
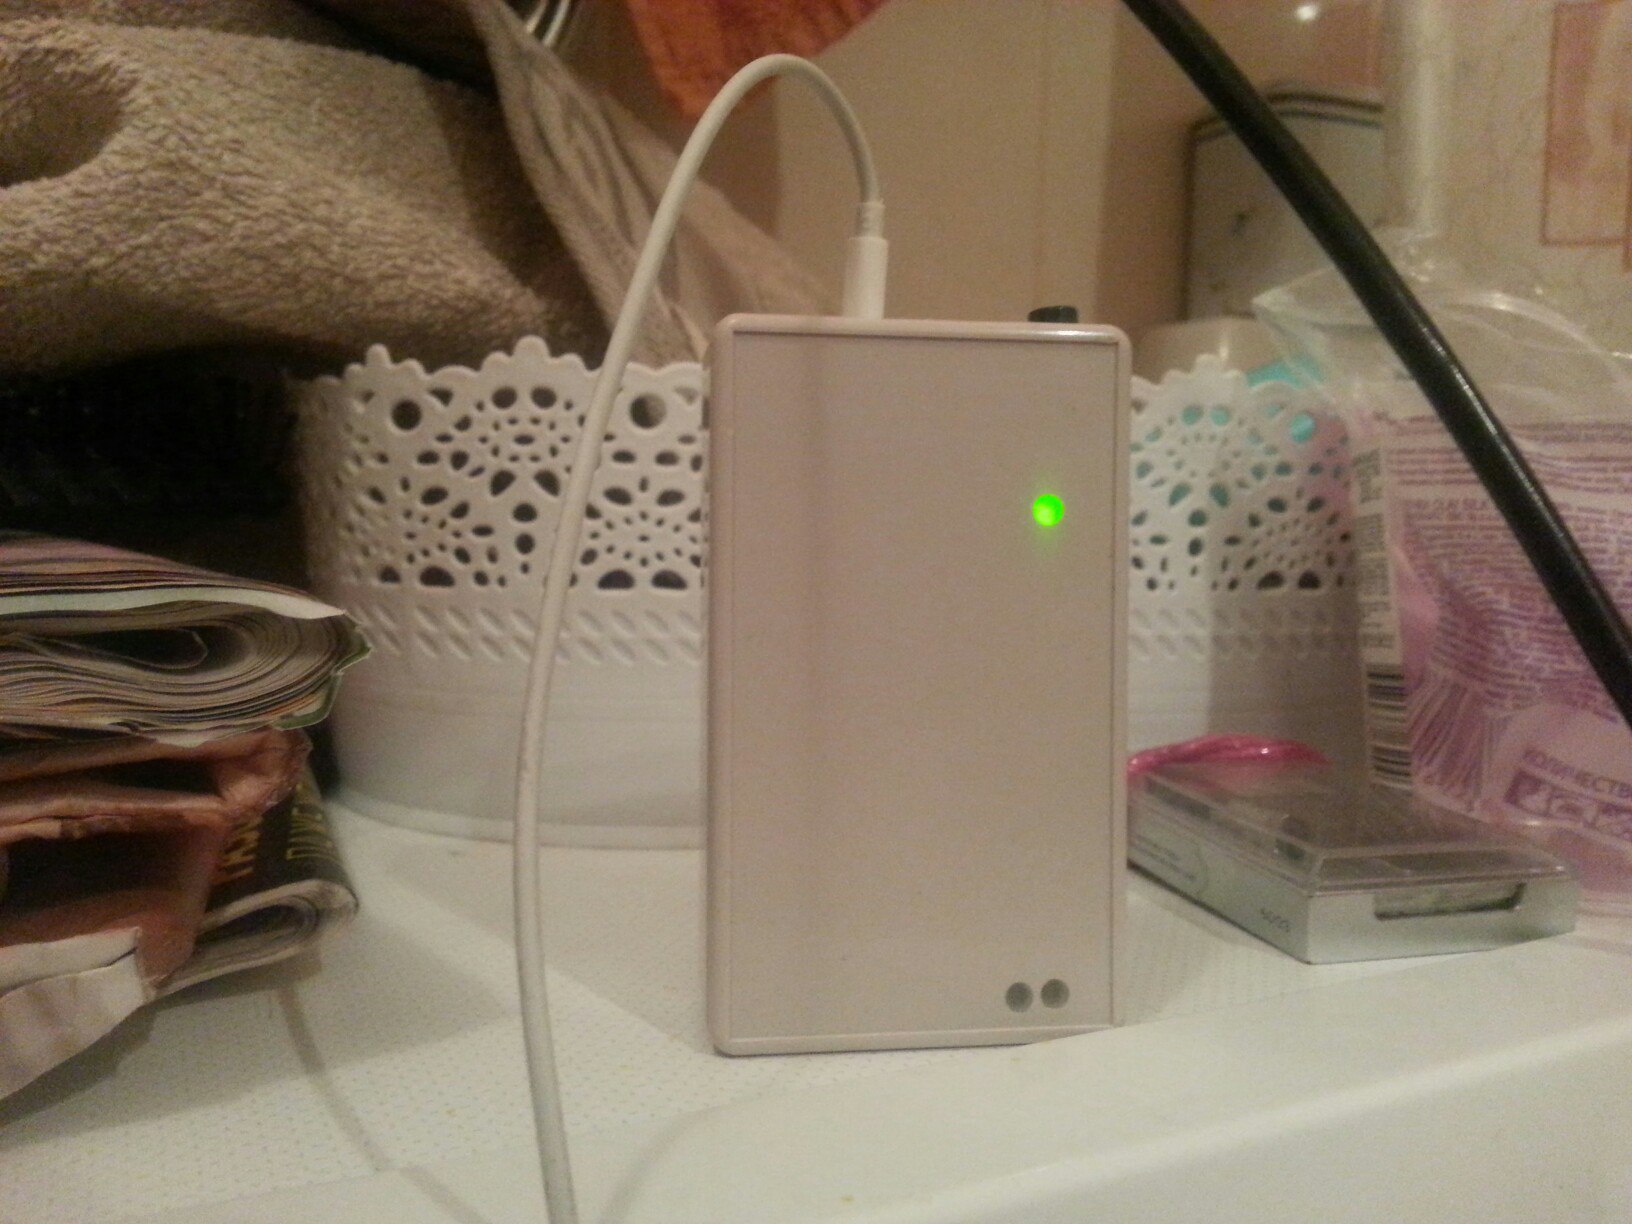
AY-3-8912 DIY Pleer (PSG)
Schematic: https://m.habr.com/ru/post/392625/
Download sketch for Arduino IDE with PSG files TF card structure
http://eurowebcart.ru/ru/ay38912.zip
Requirements: Arduino NANO or compatible + AY-3-8912 chip + resistors + capacitors + 2 analog buttonts to A4 for NEXT / PREV / SKIP DIR


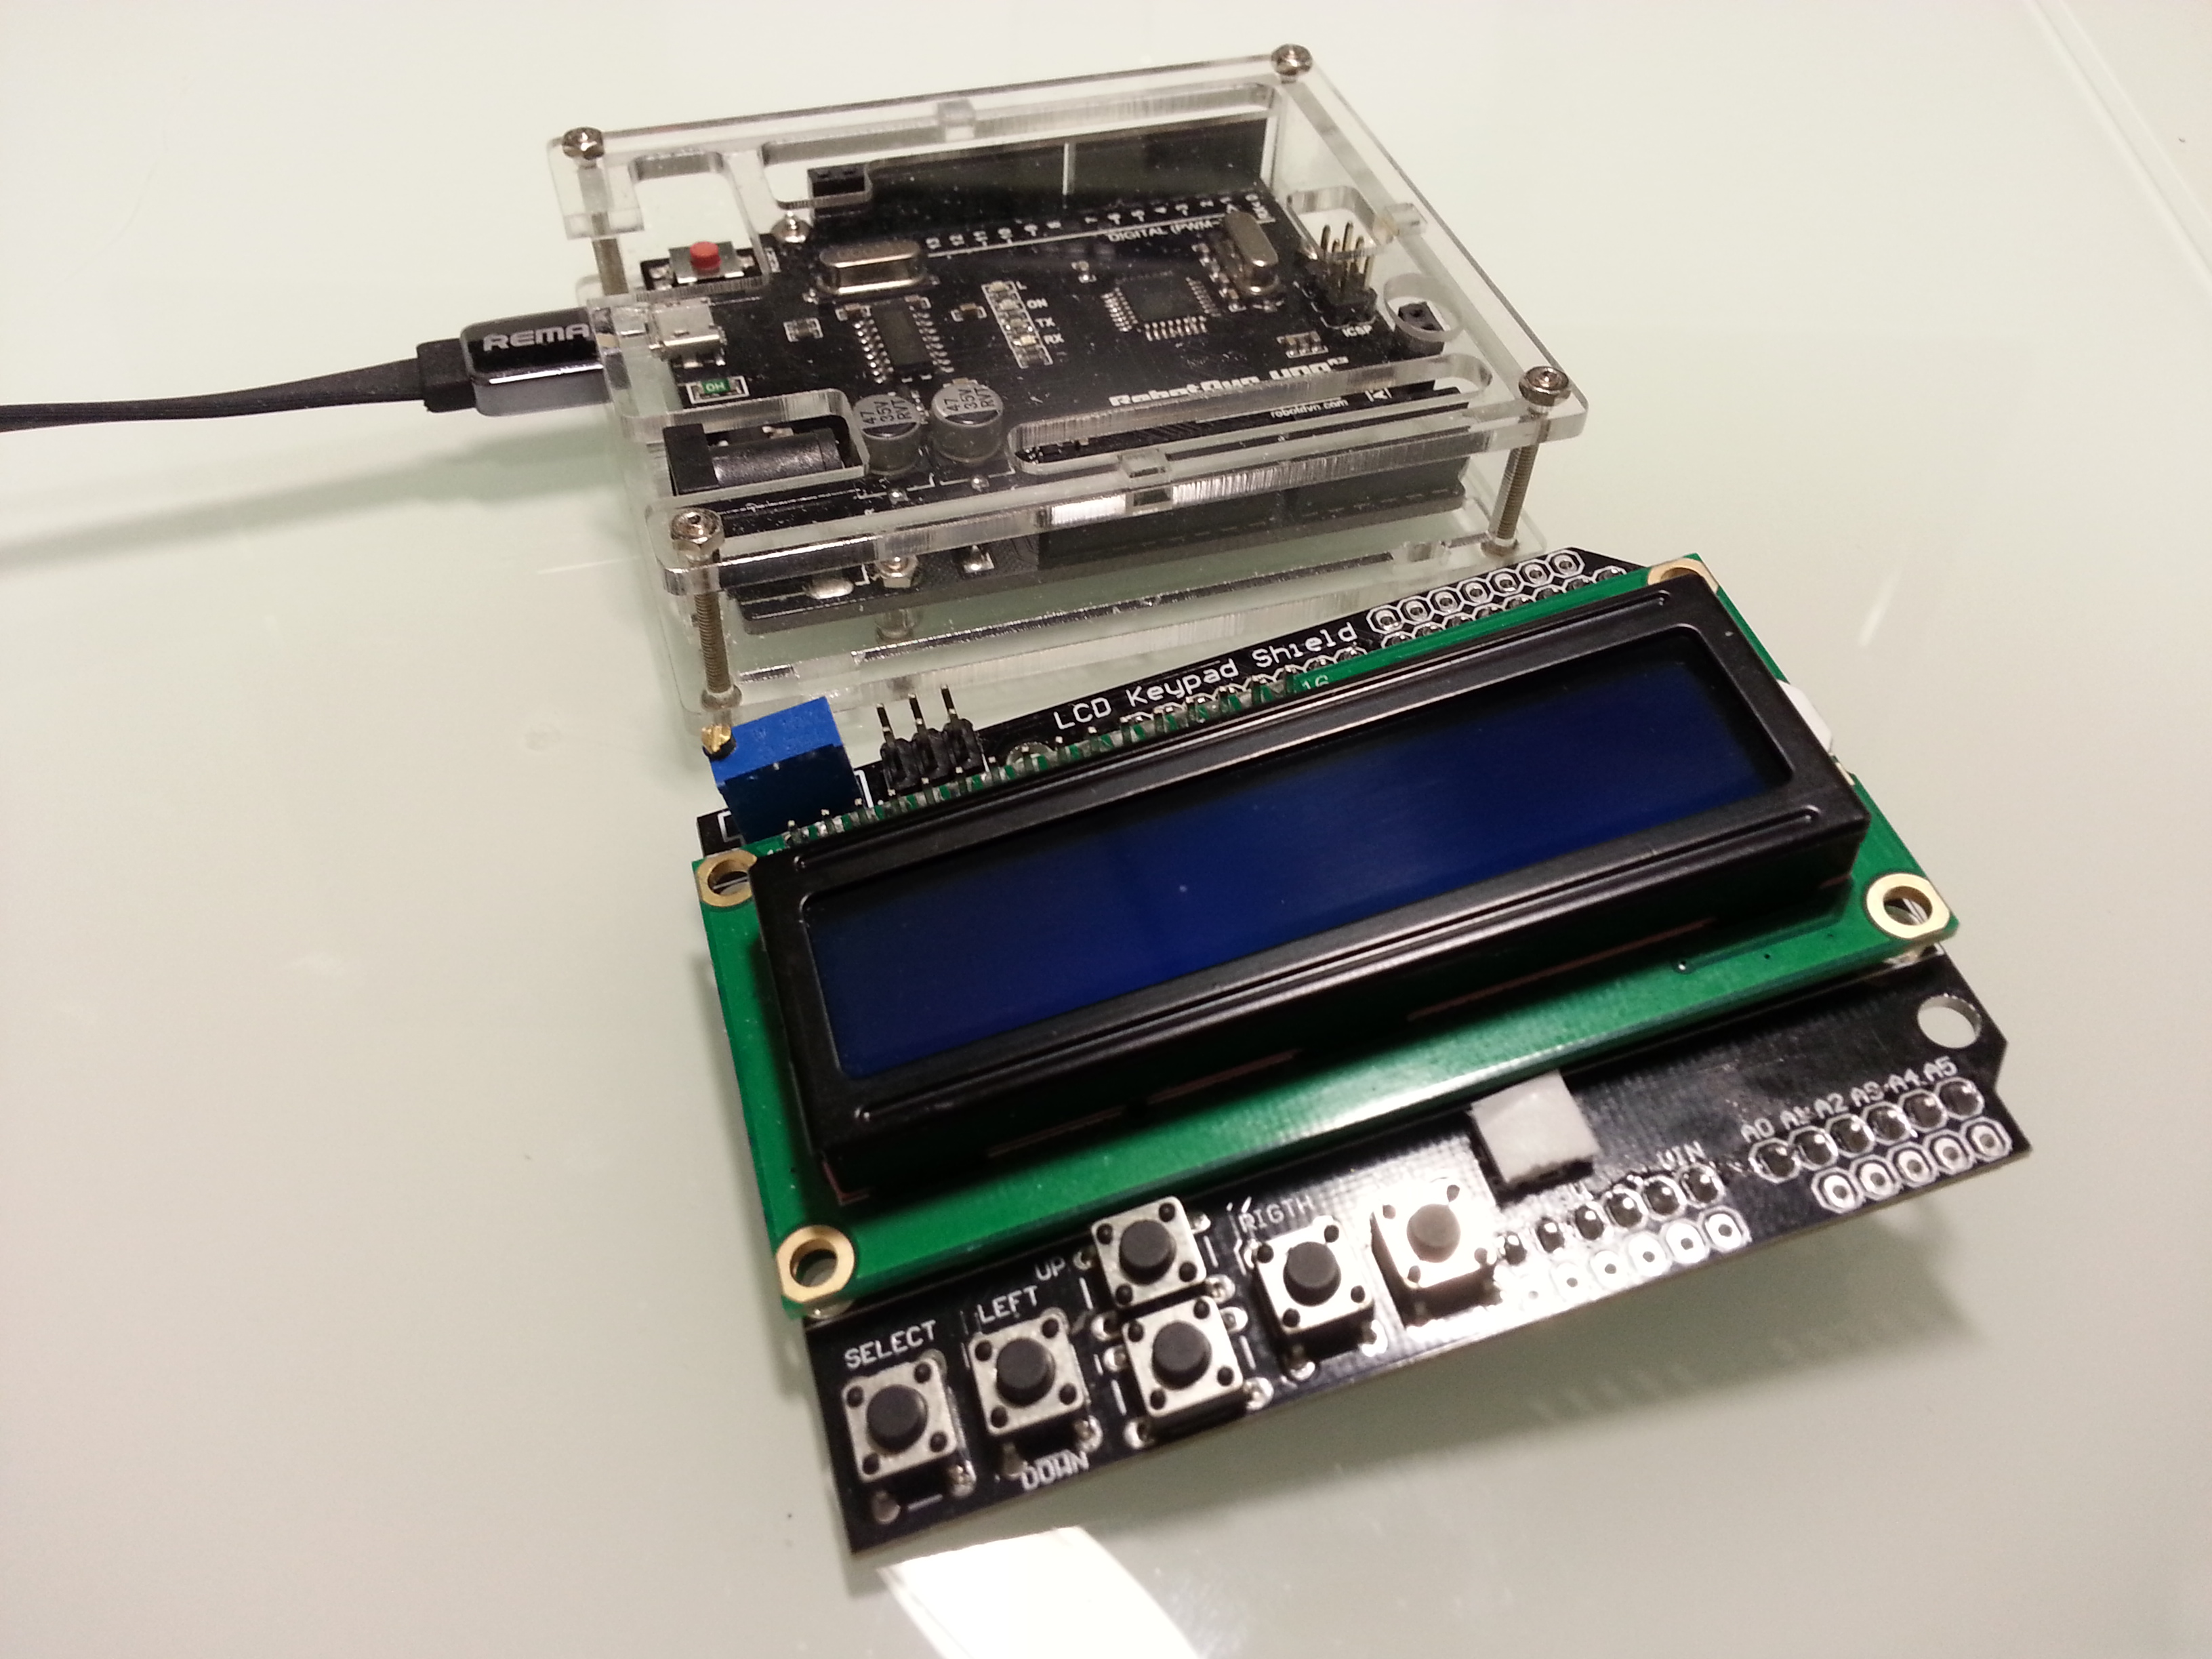
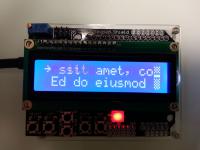
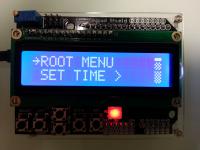
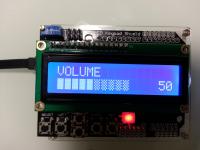
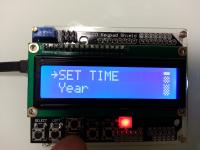
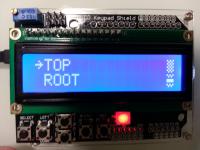
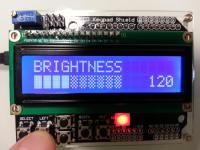
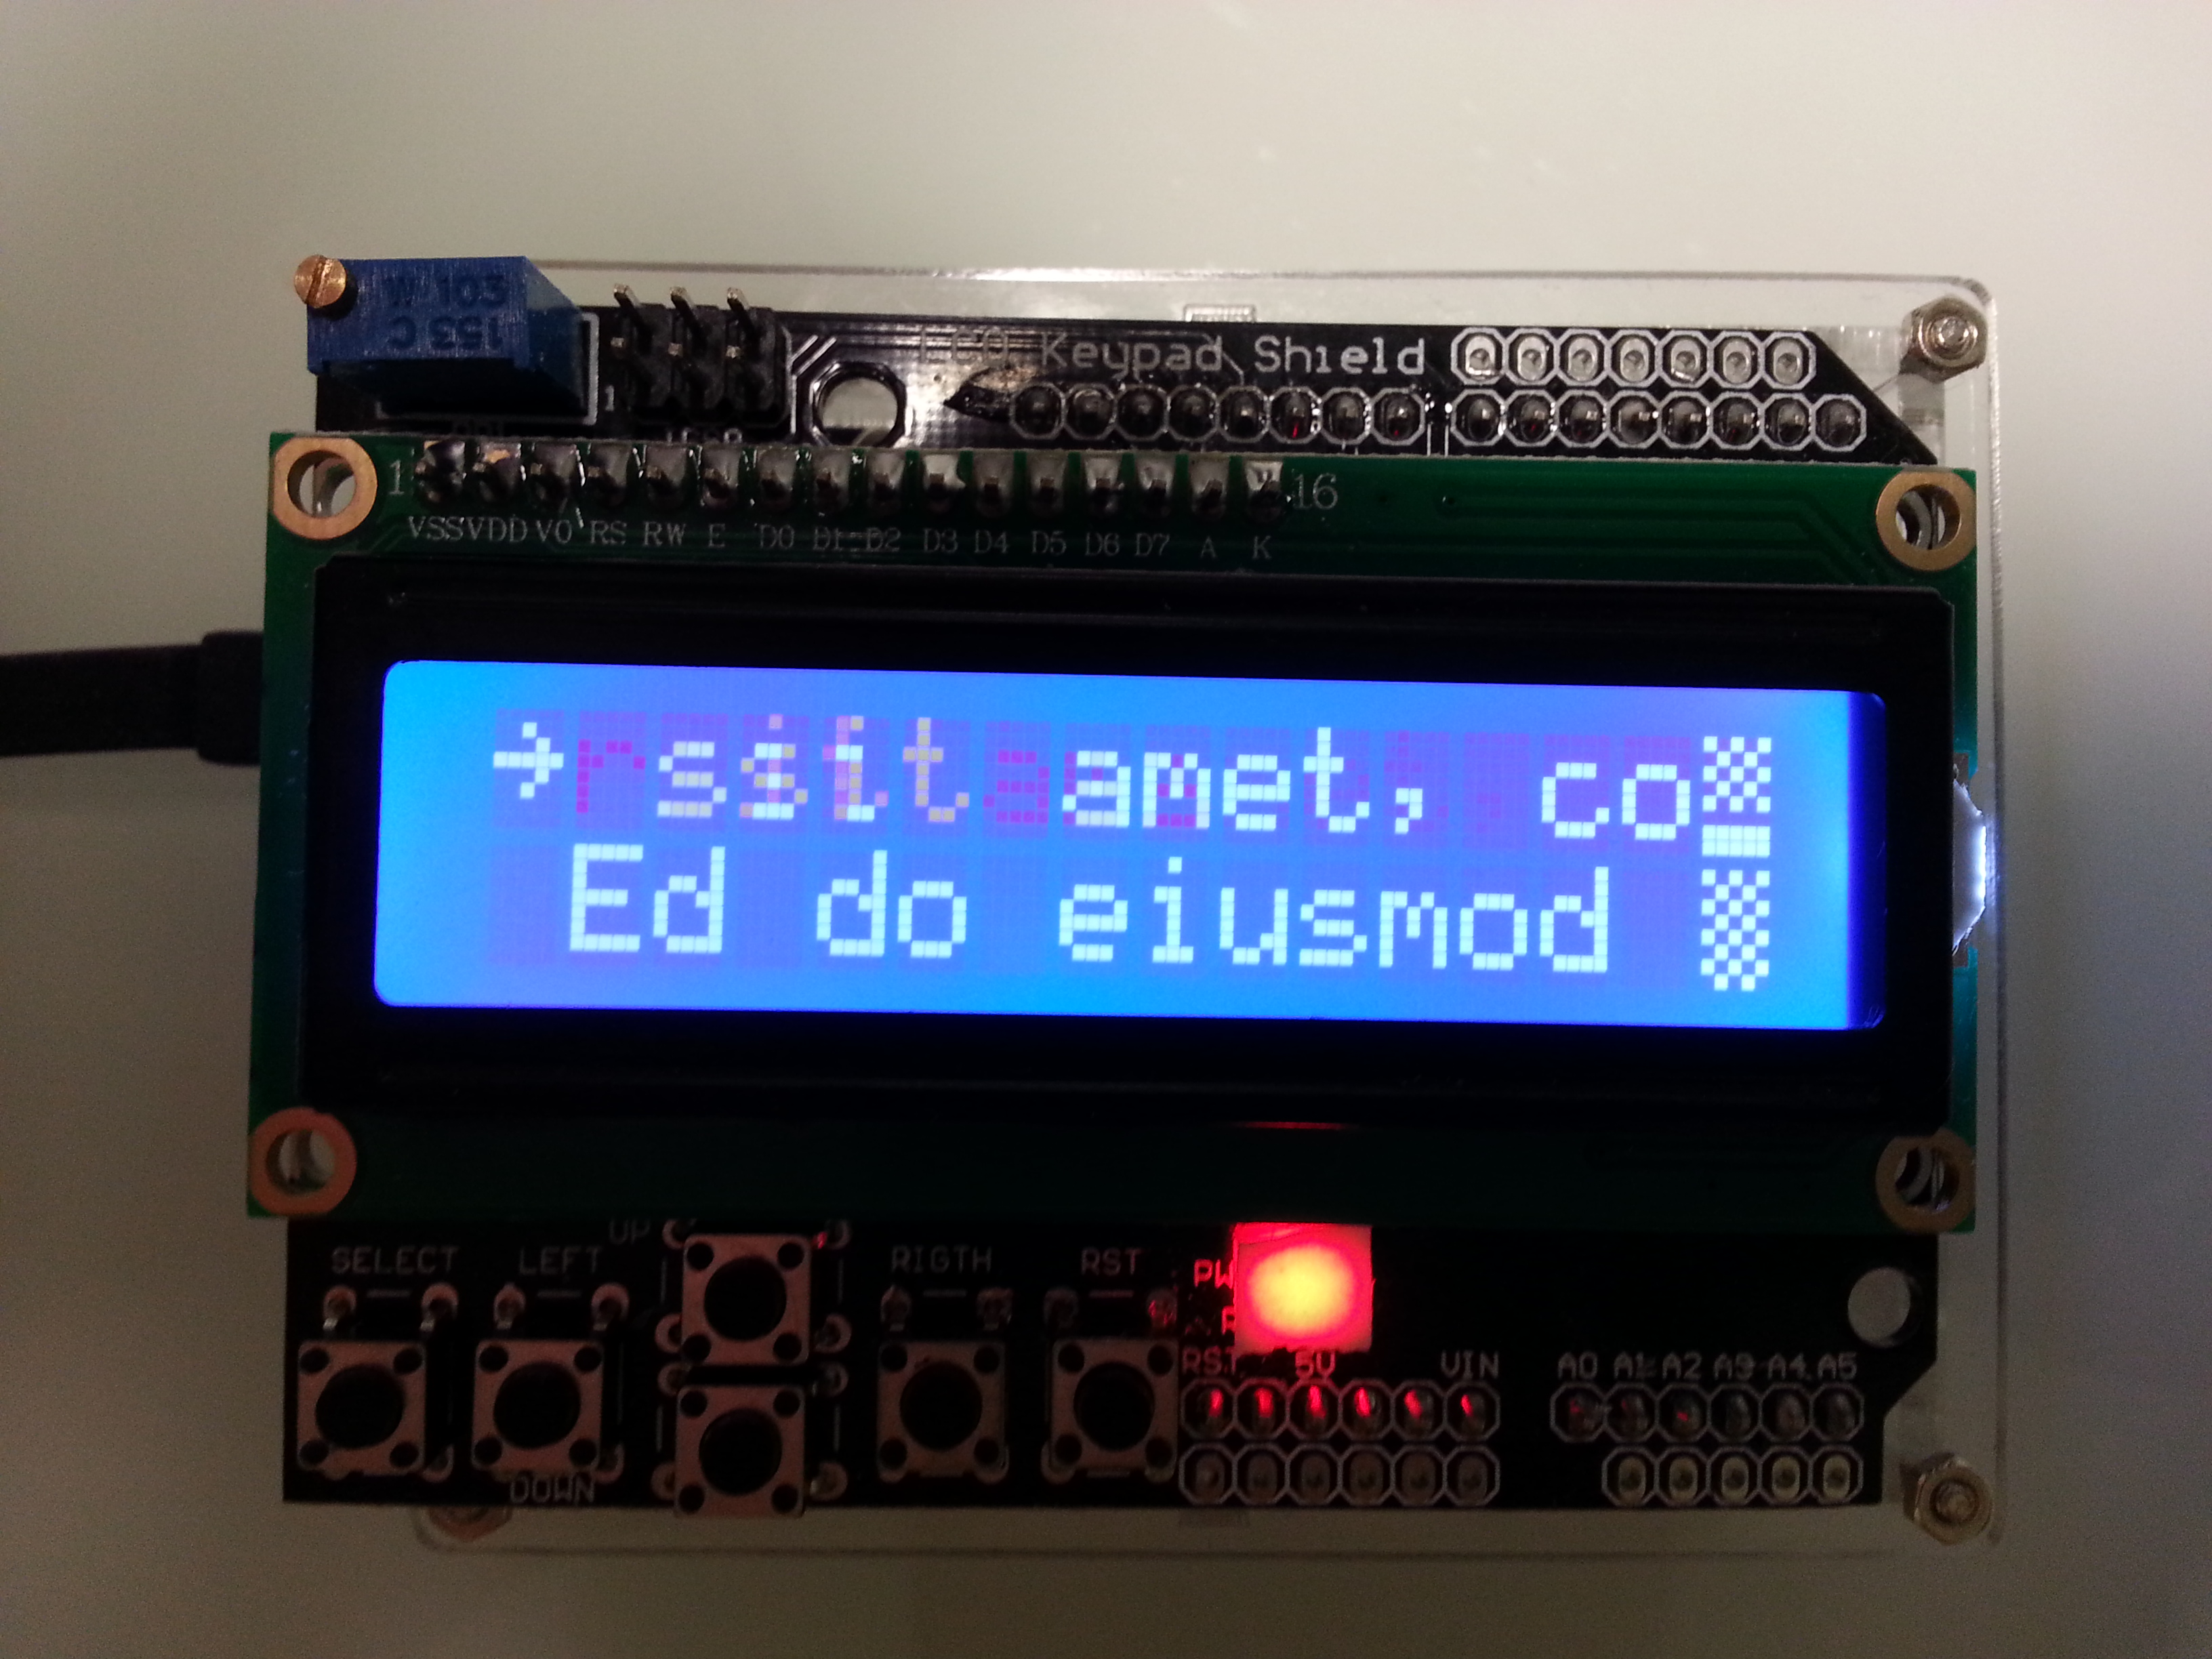
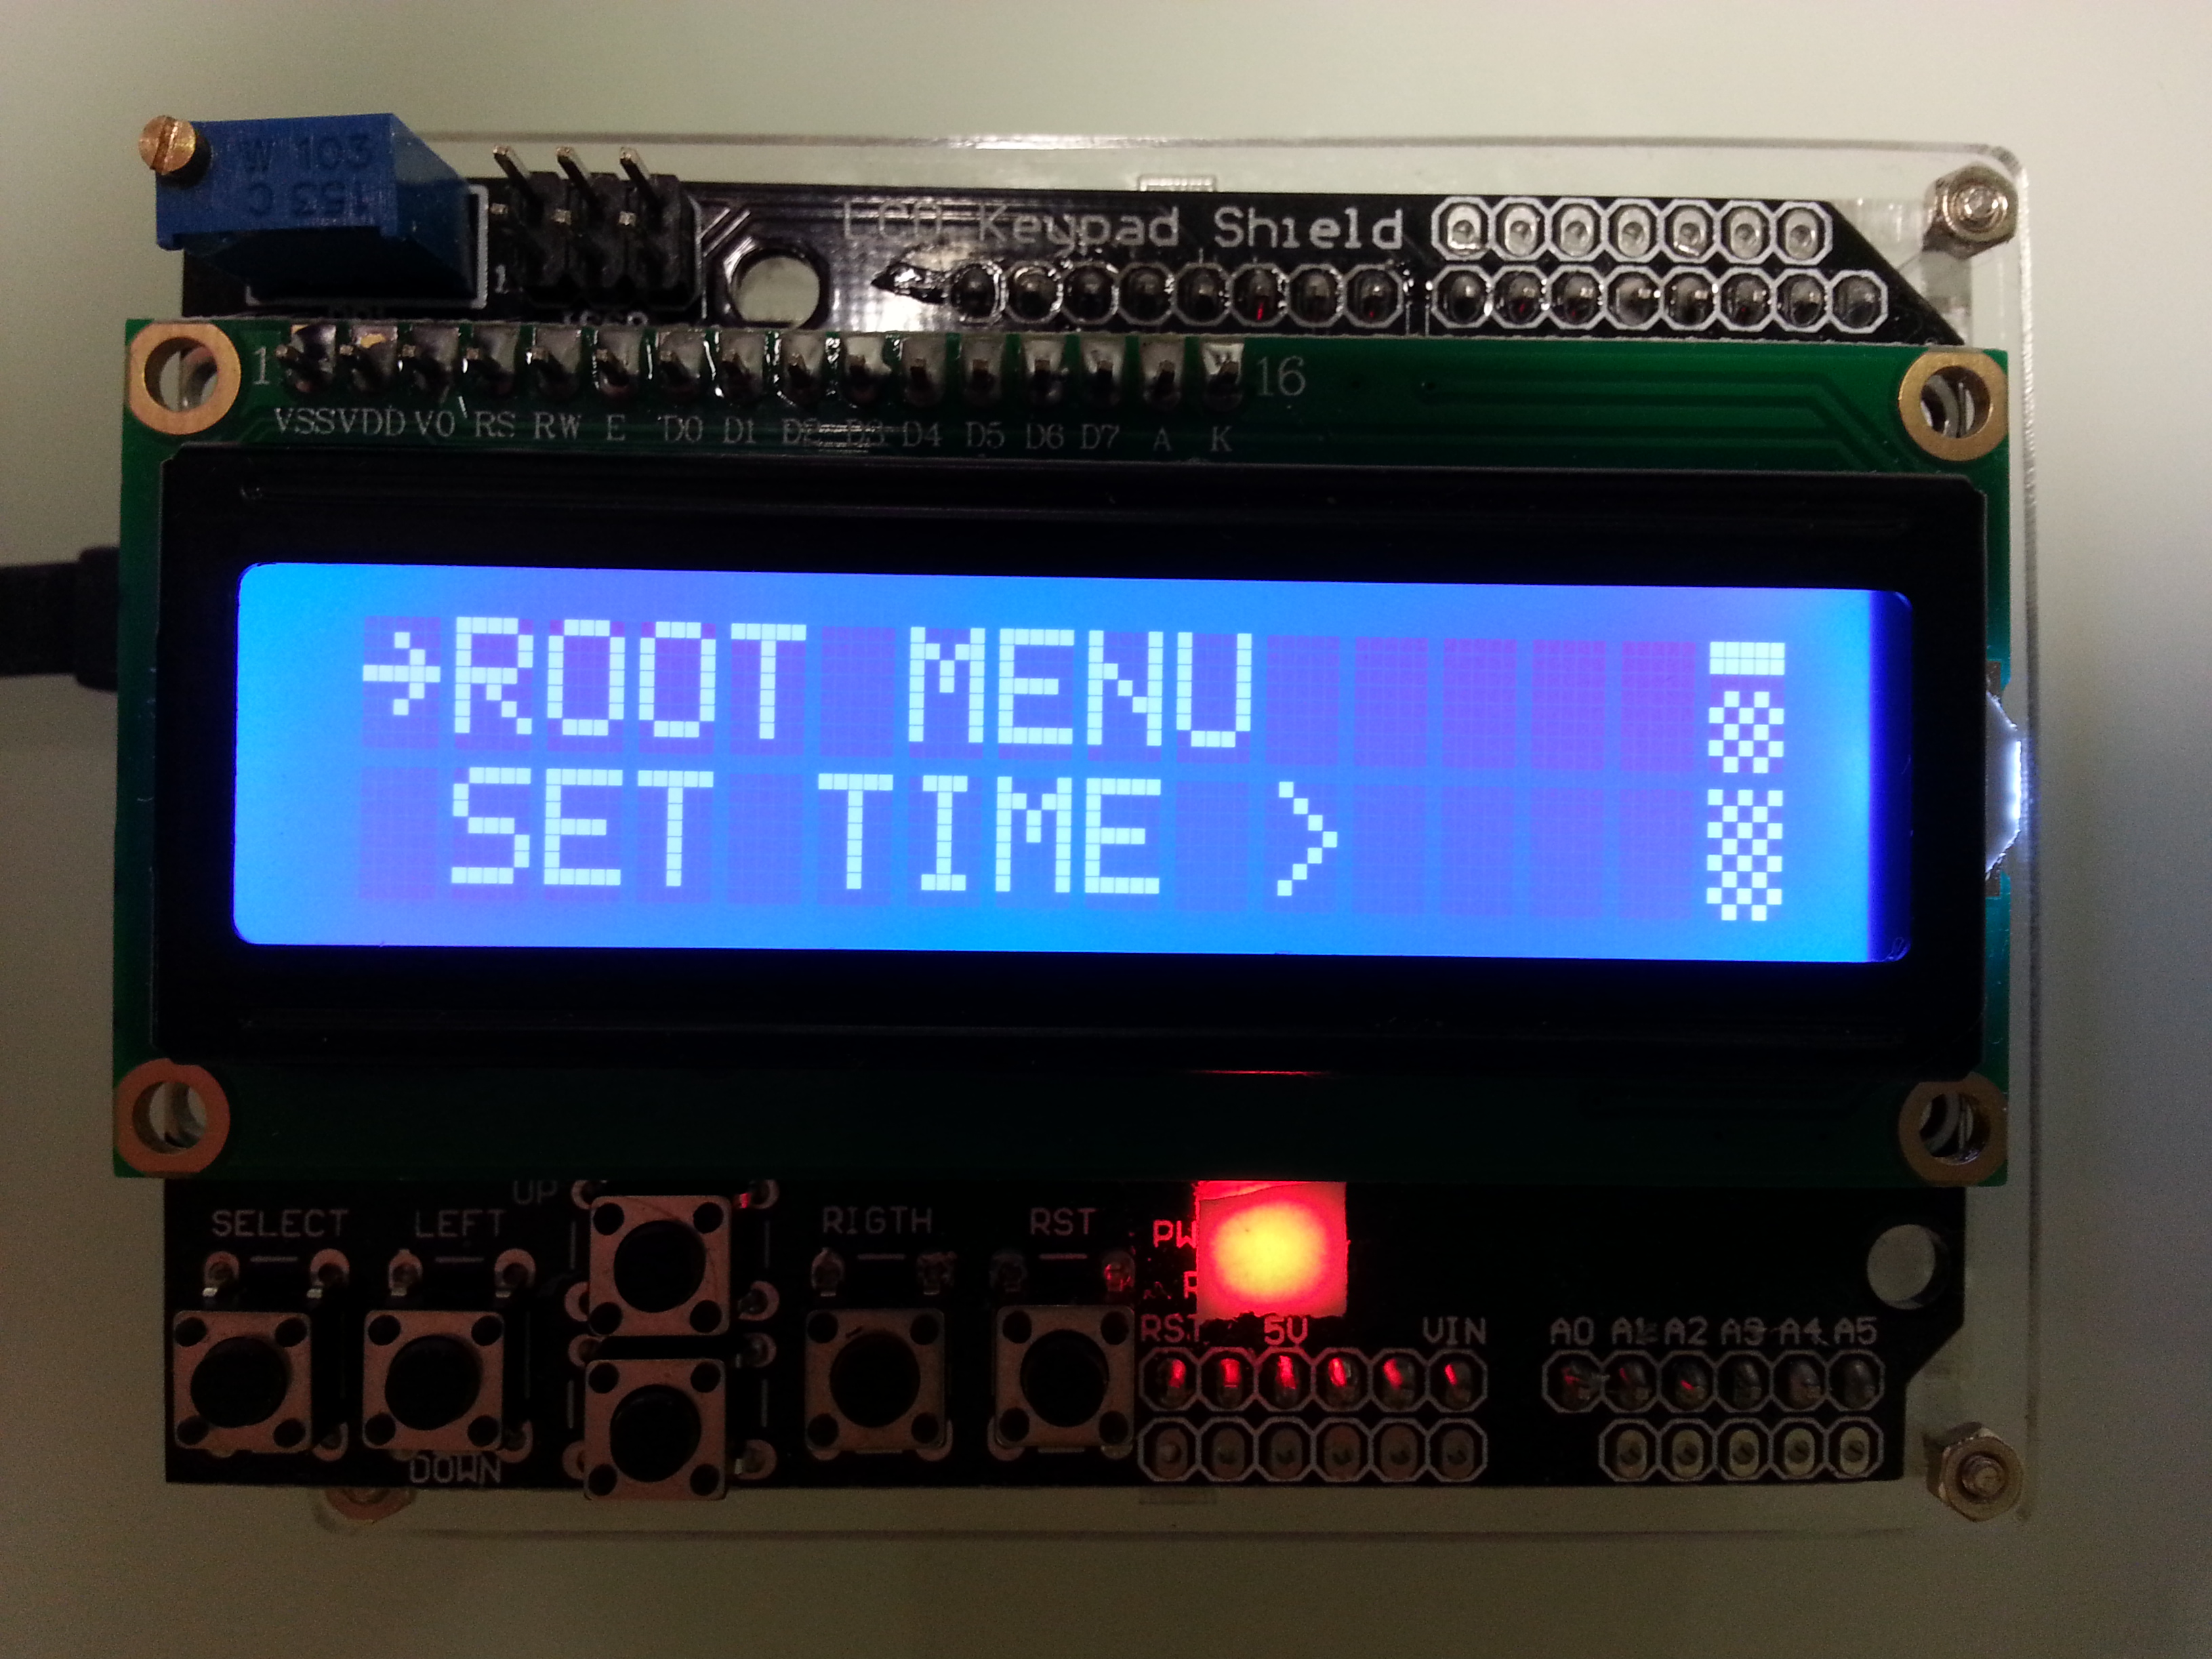
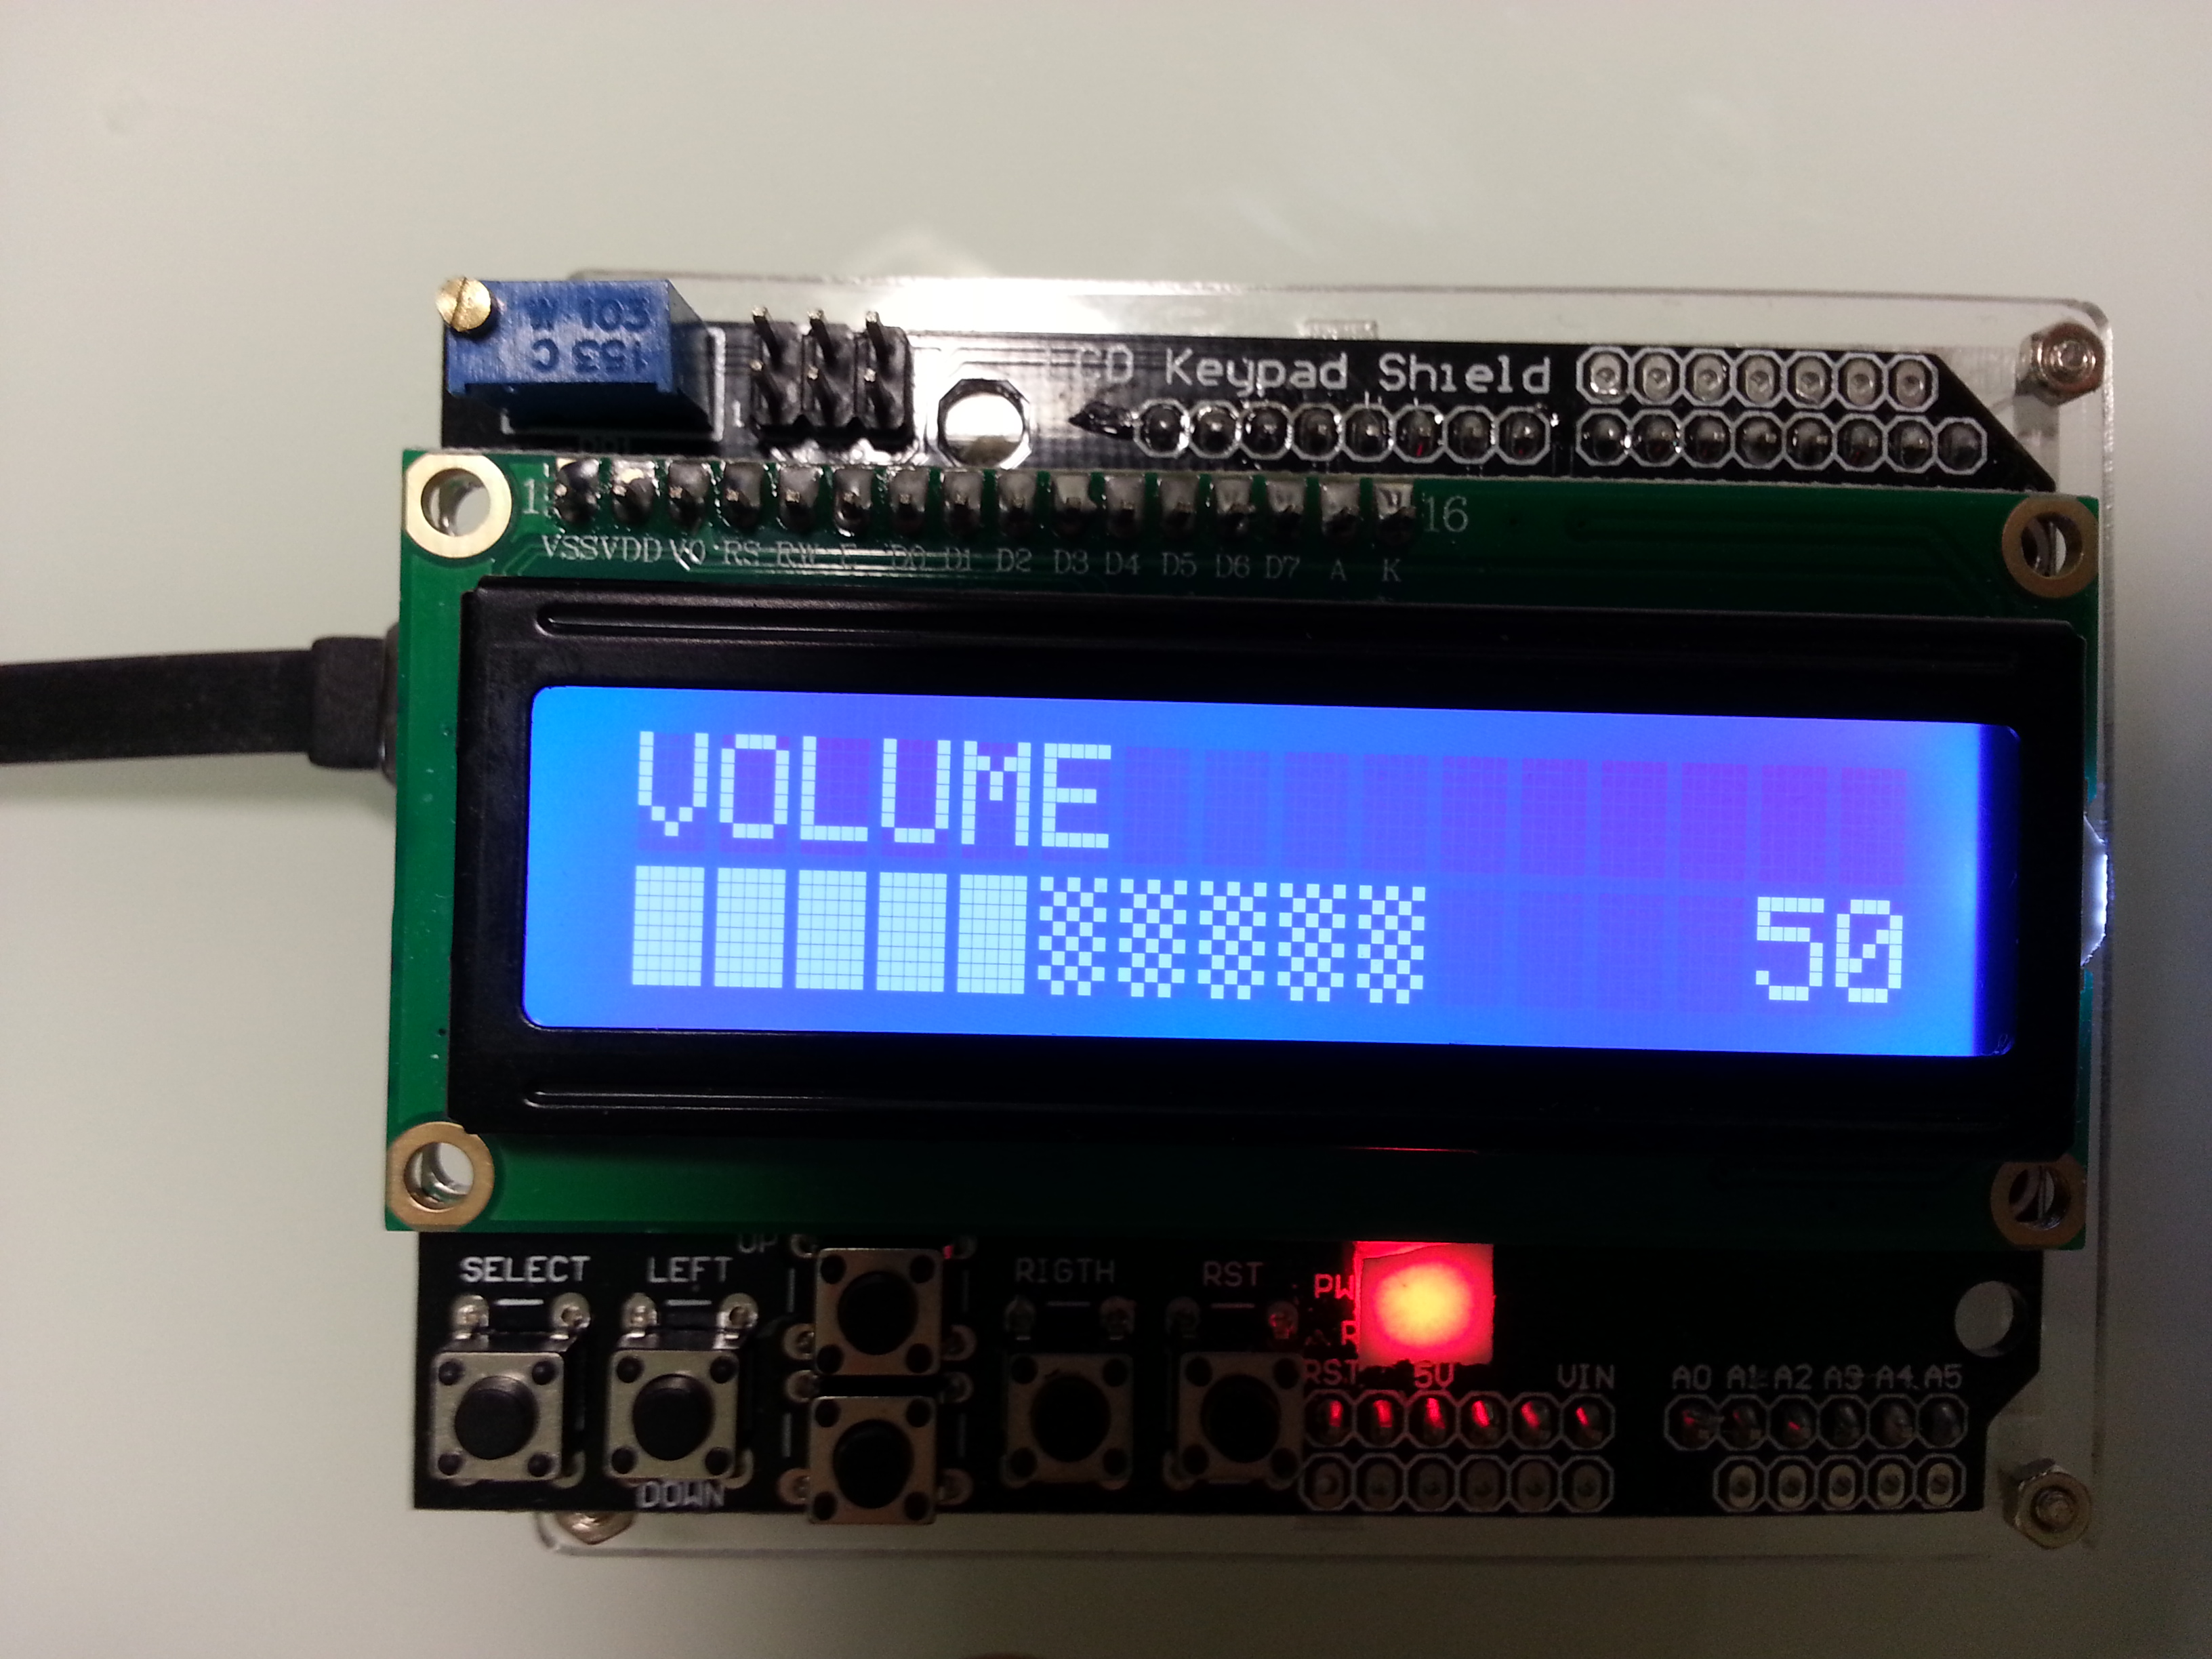
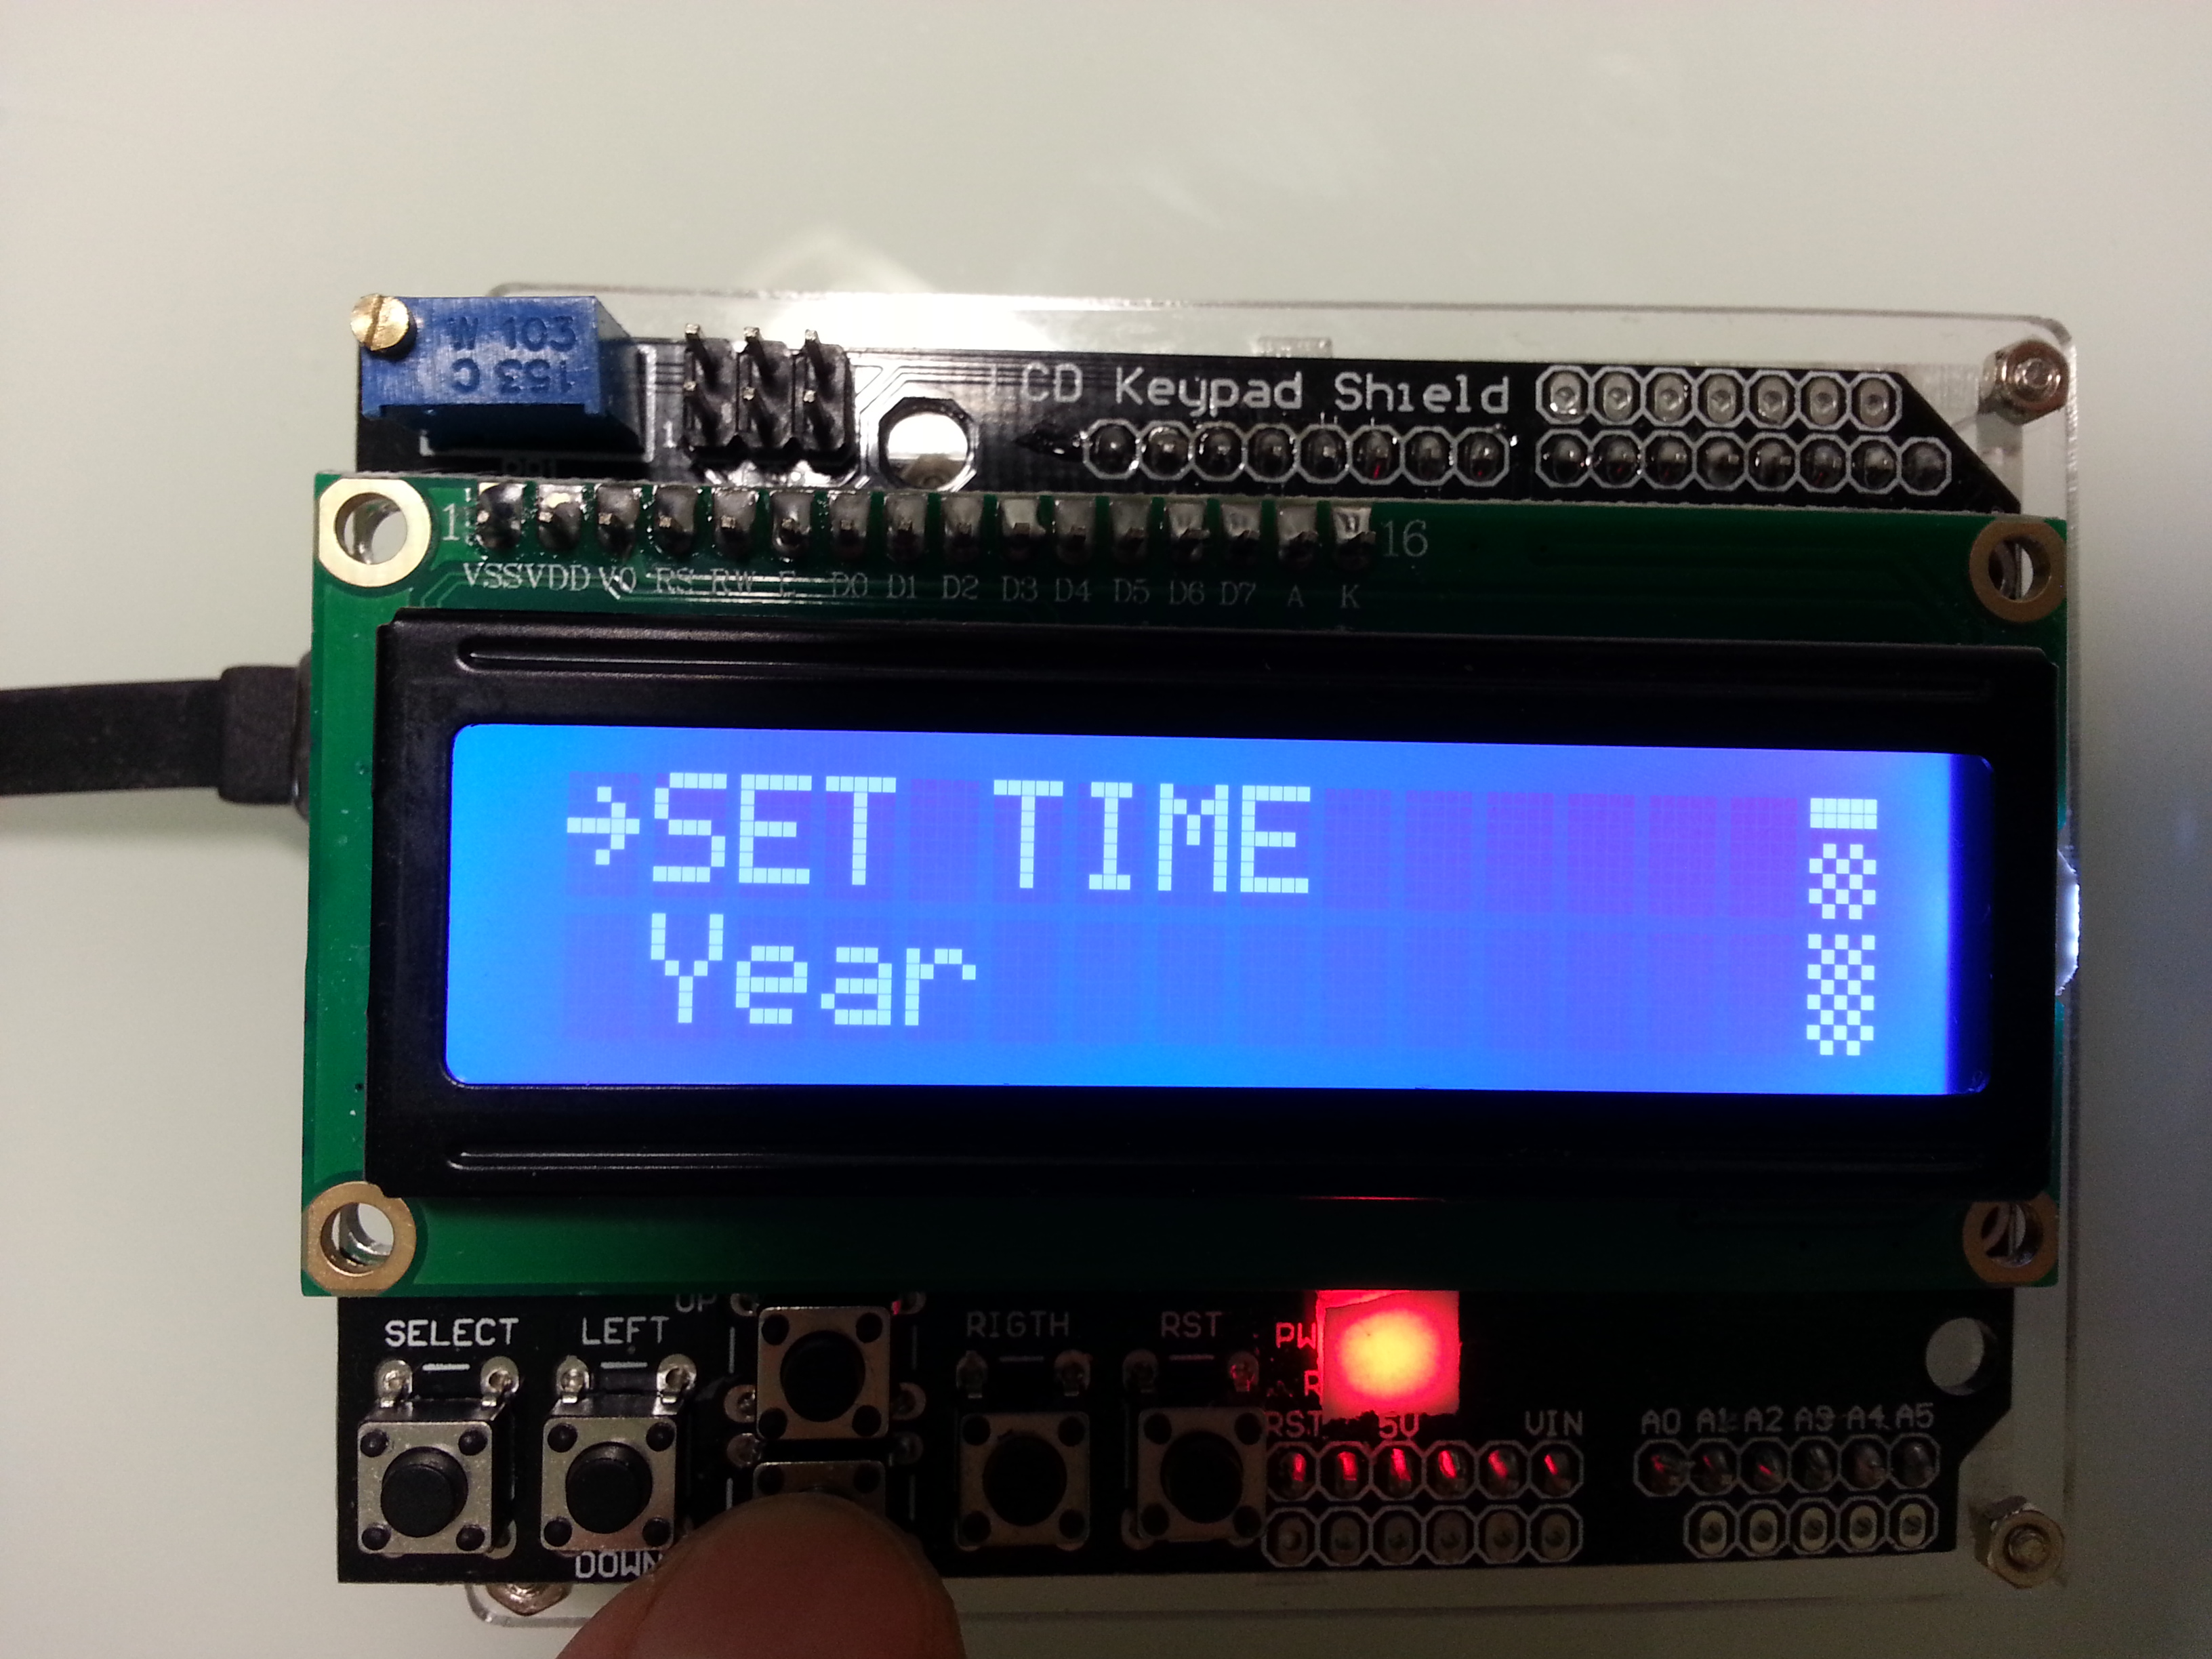
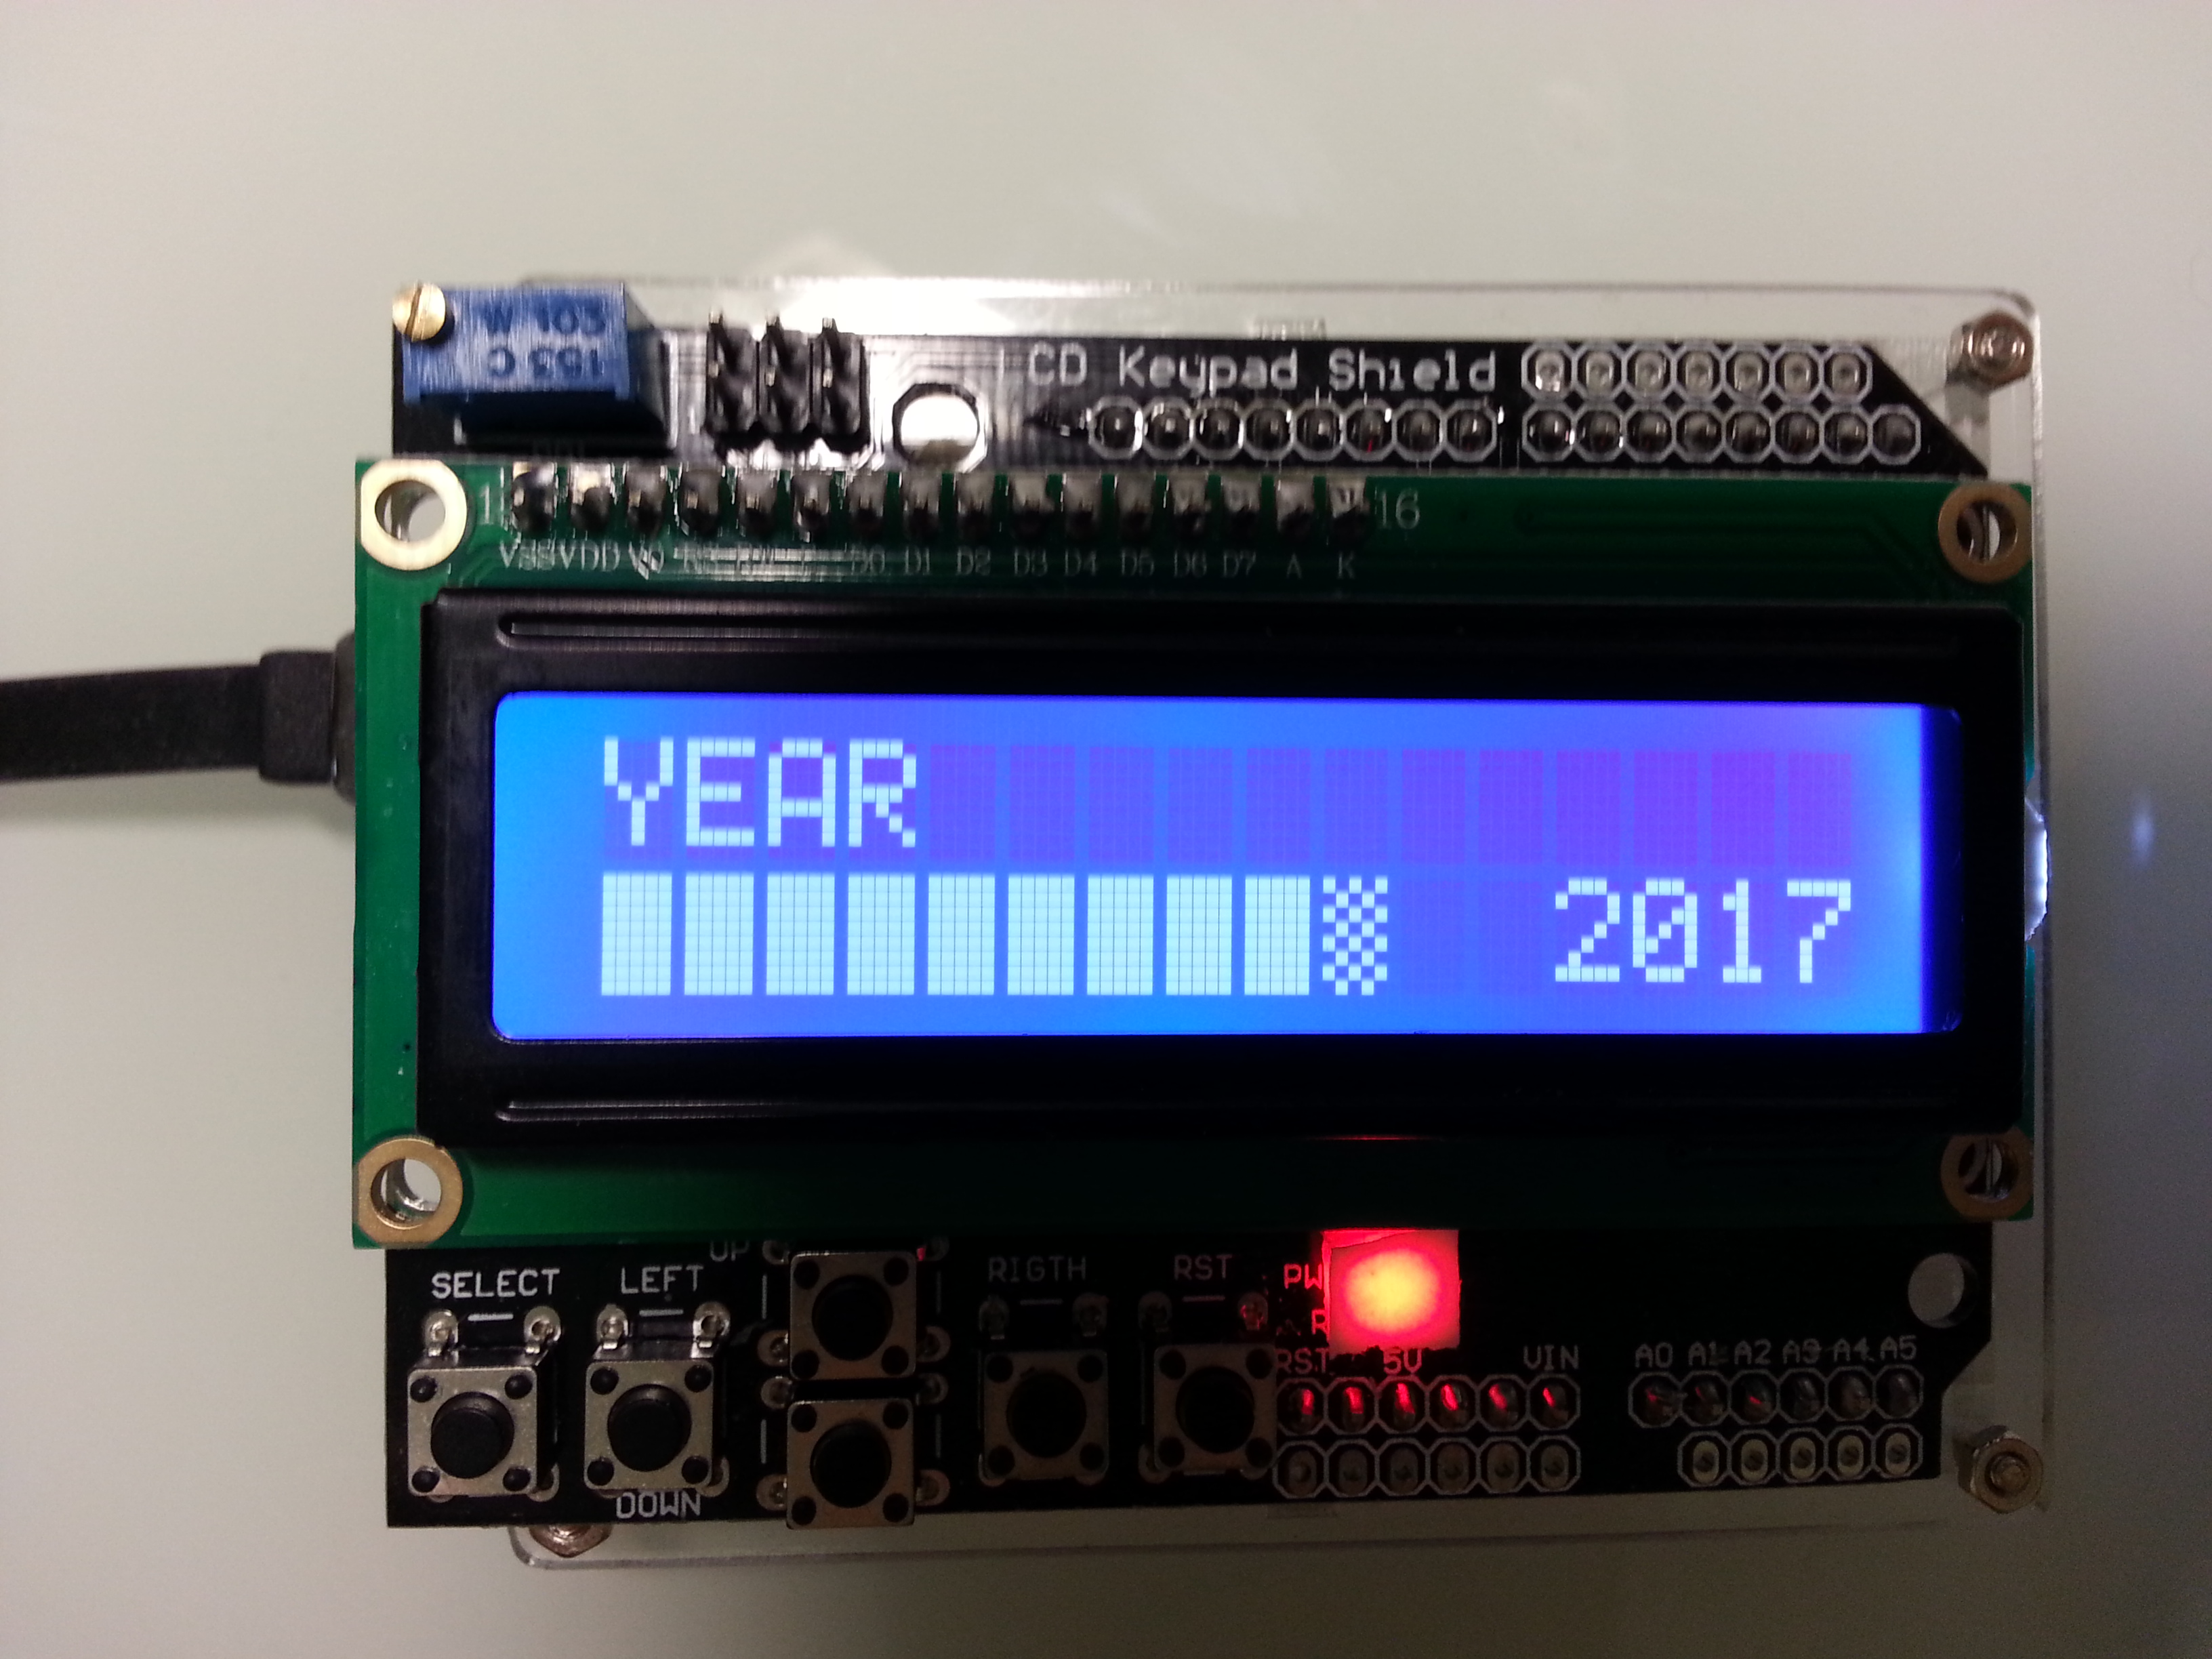
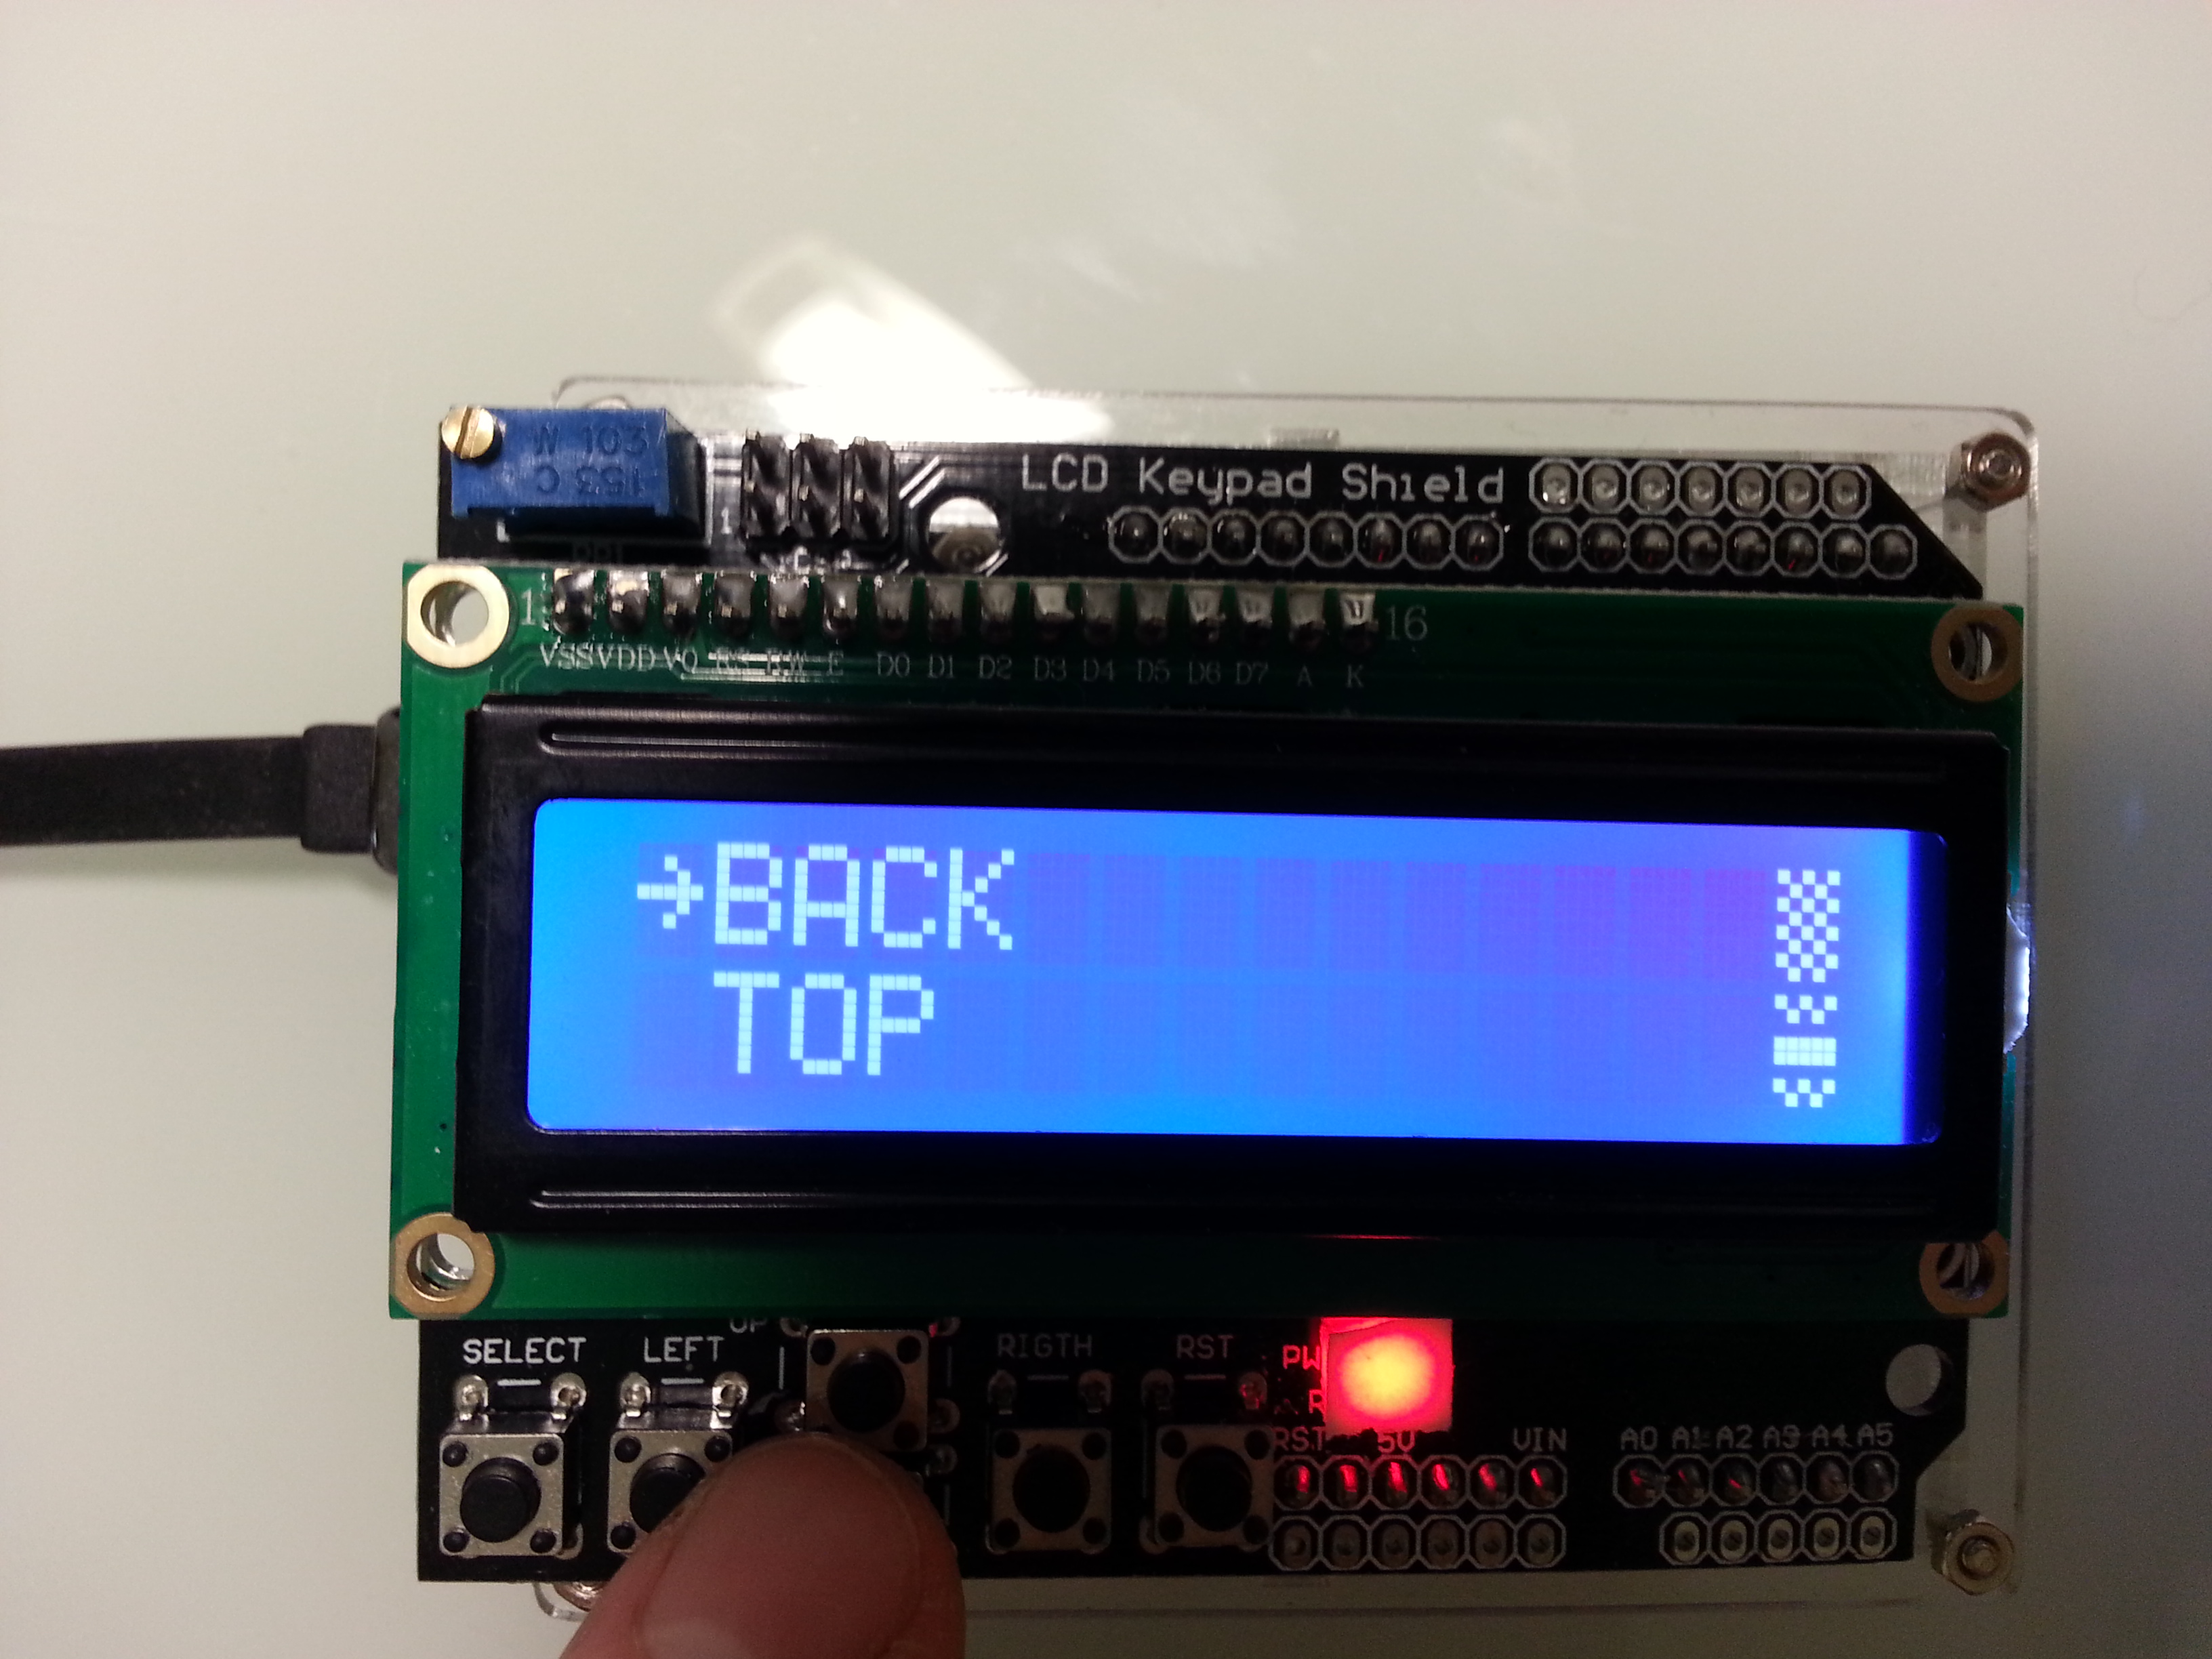
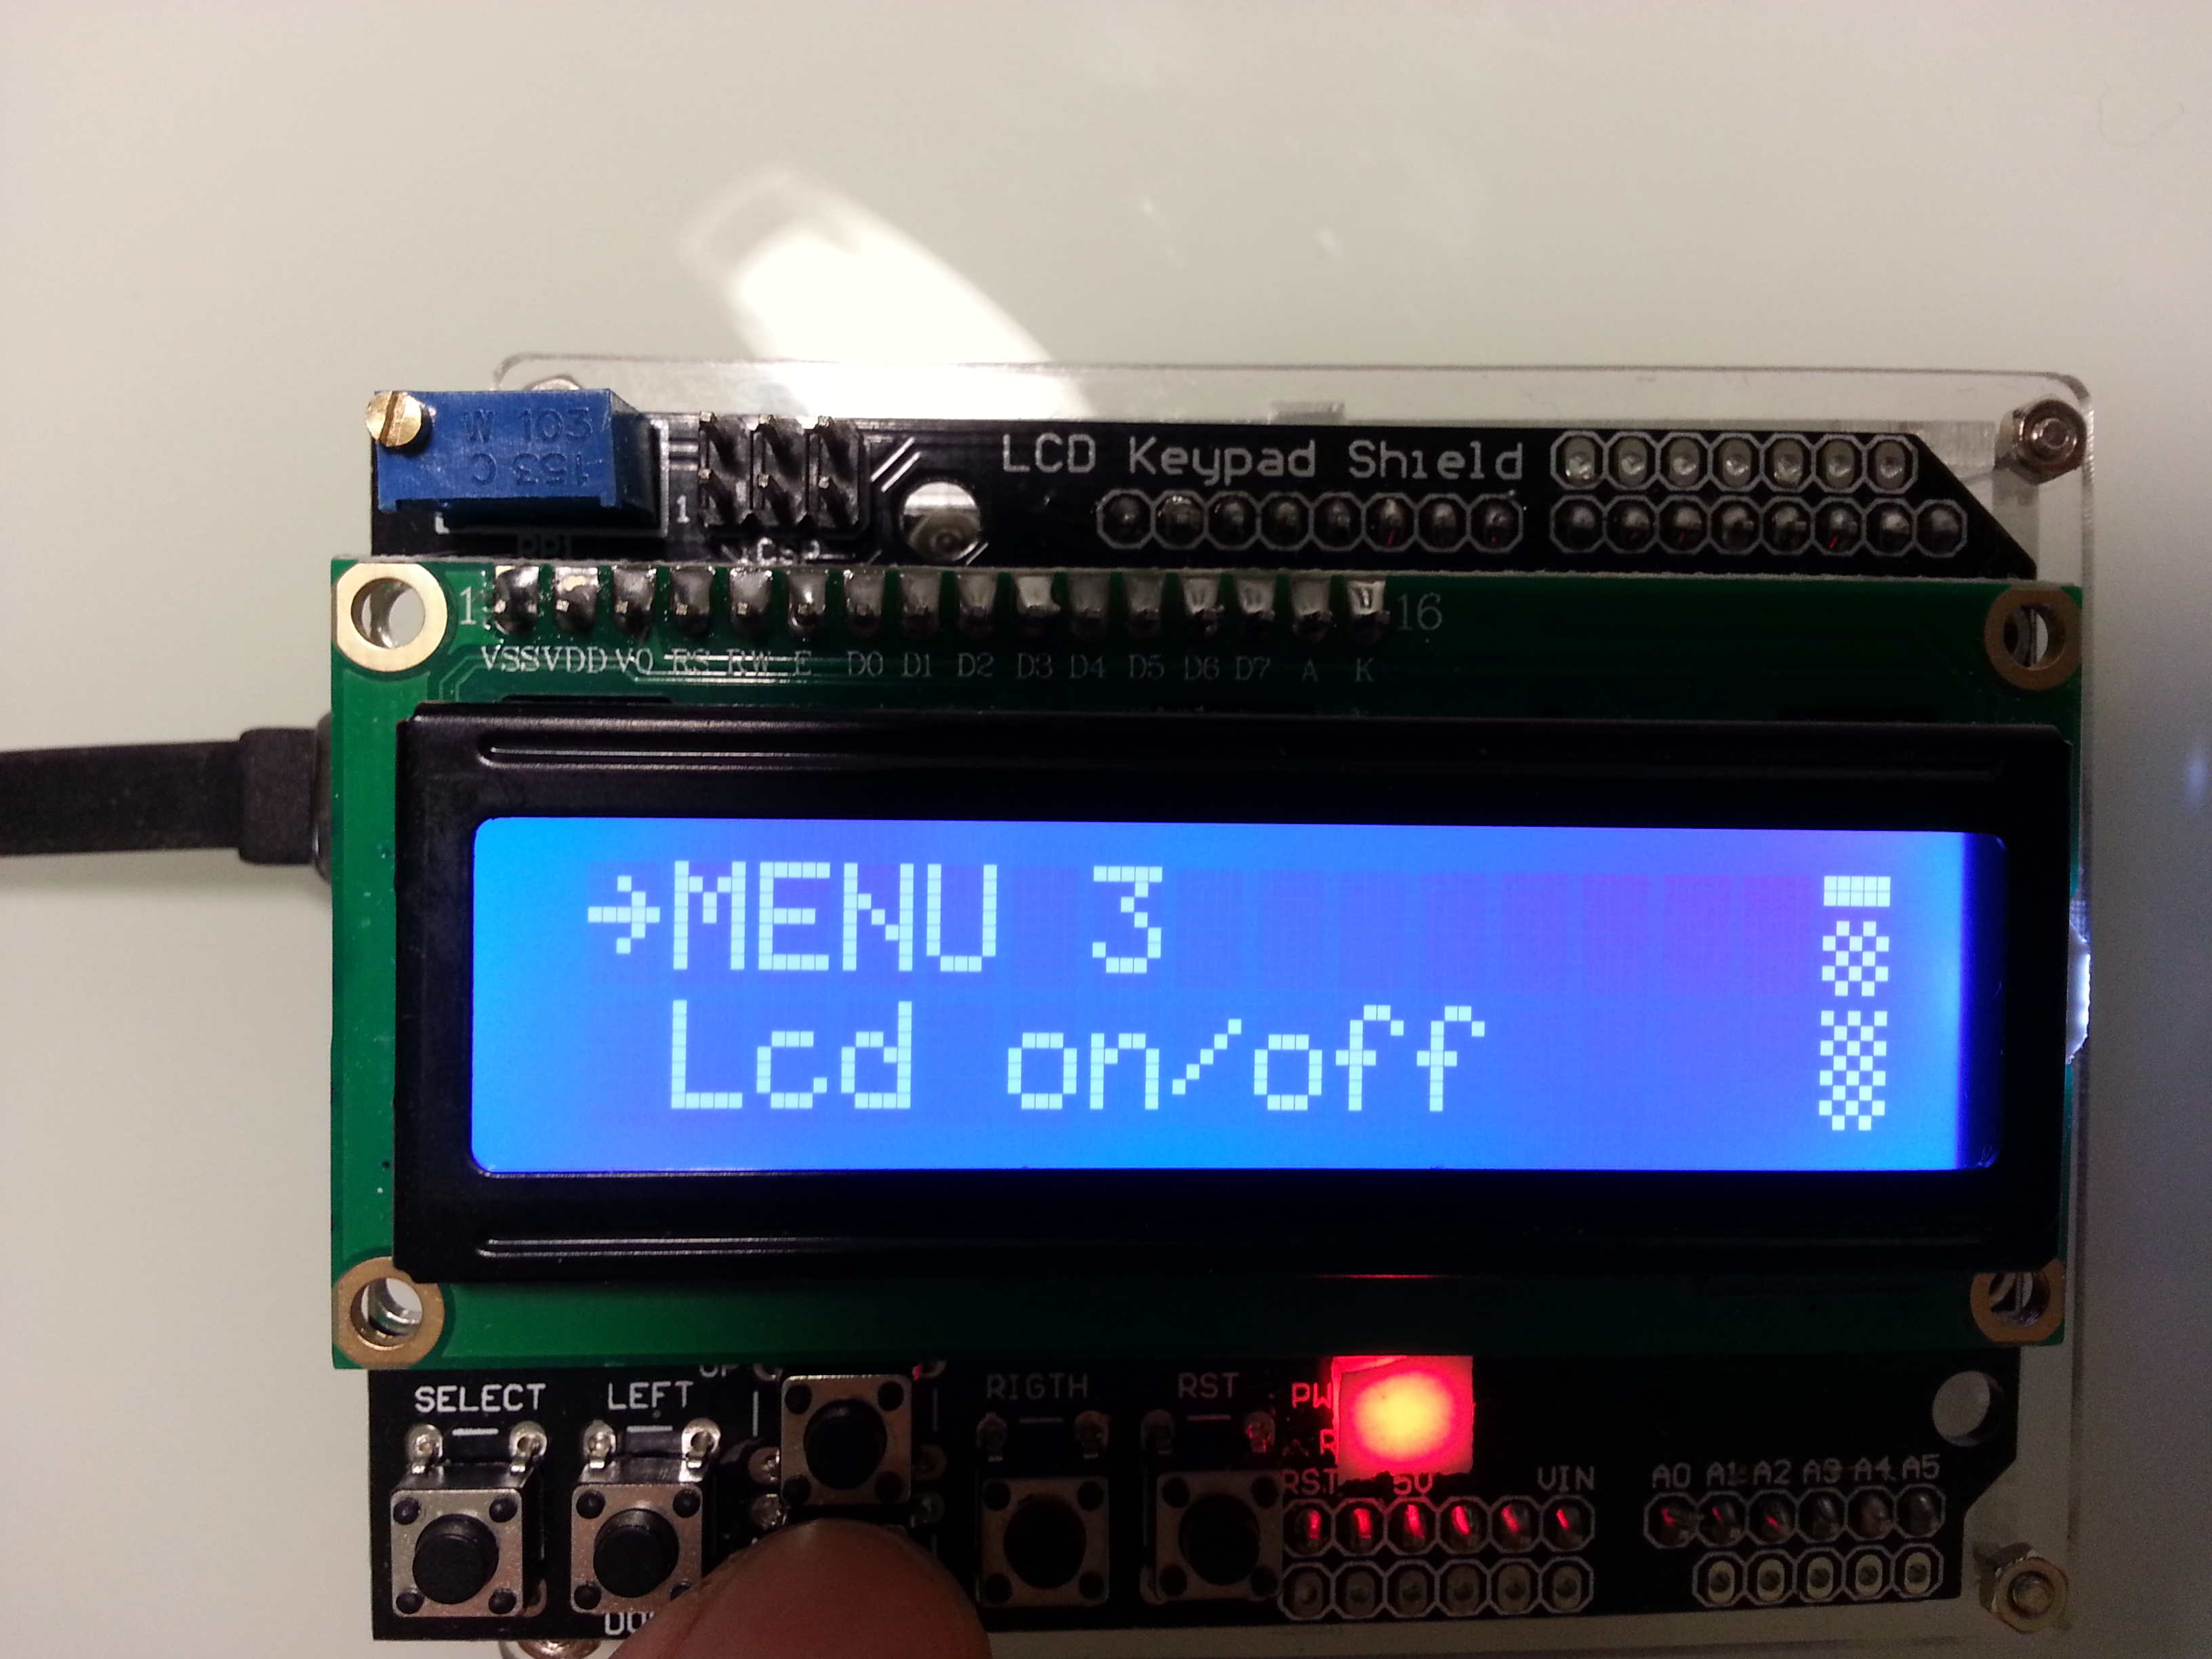
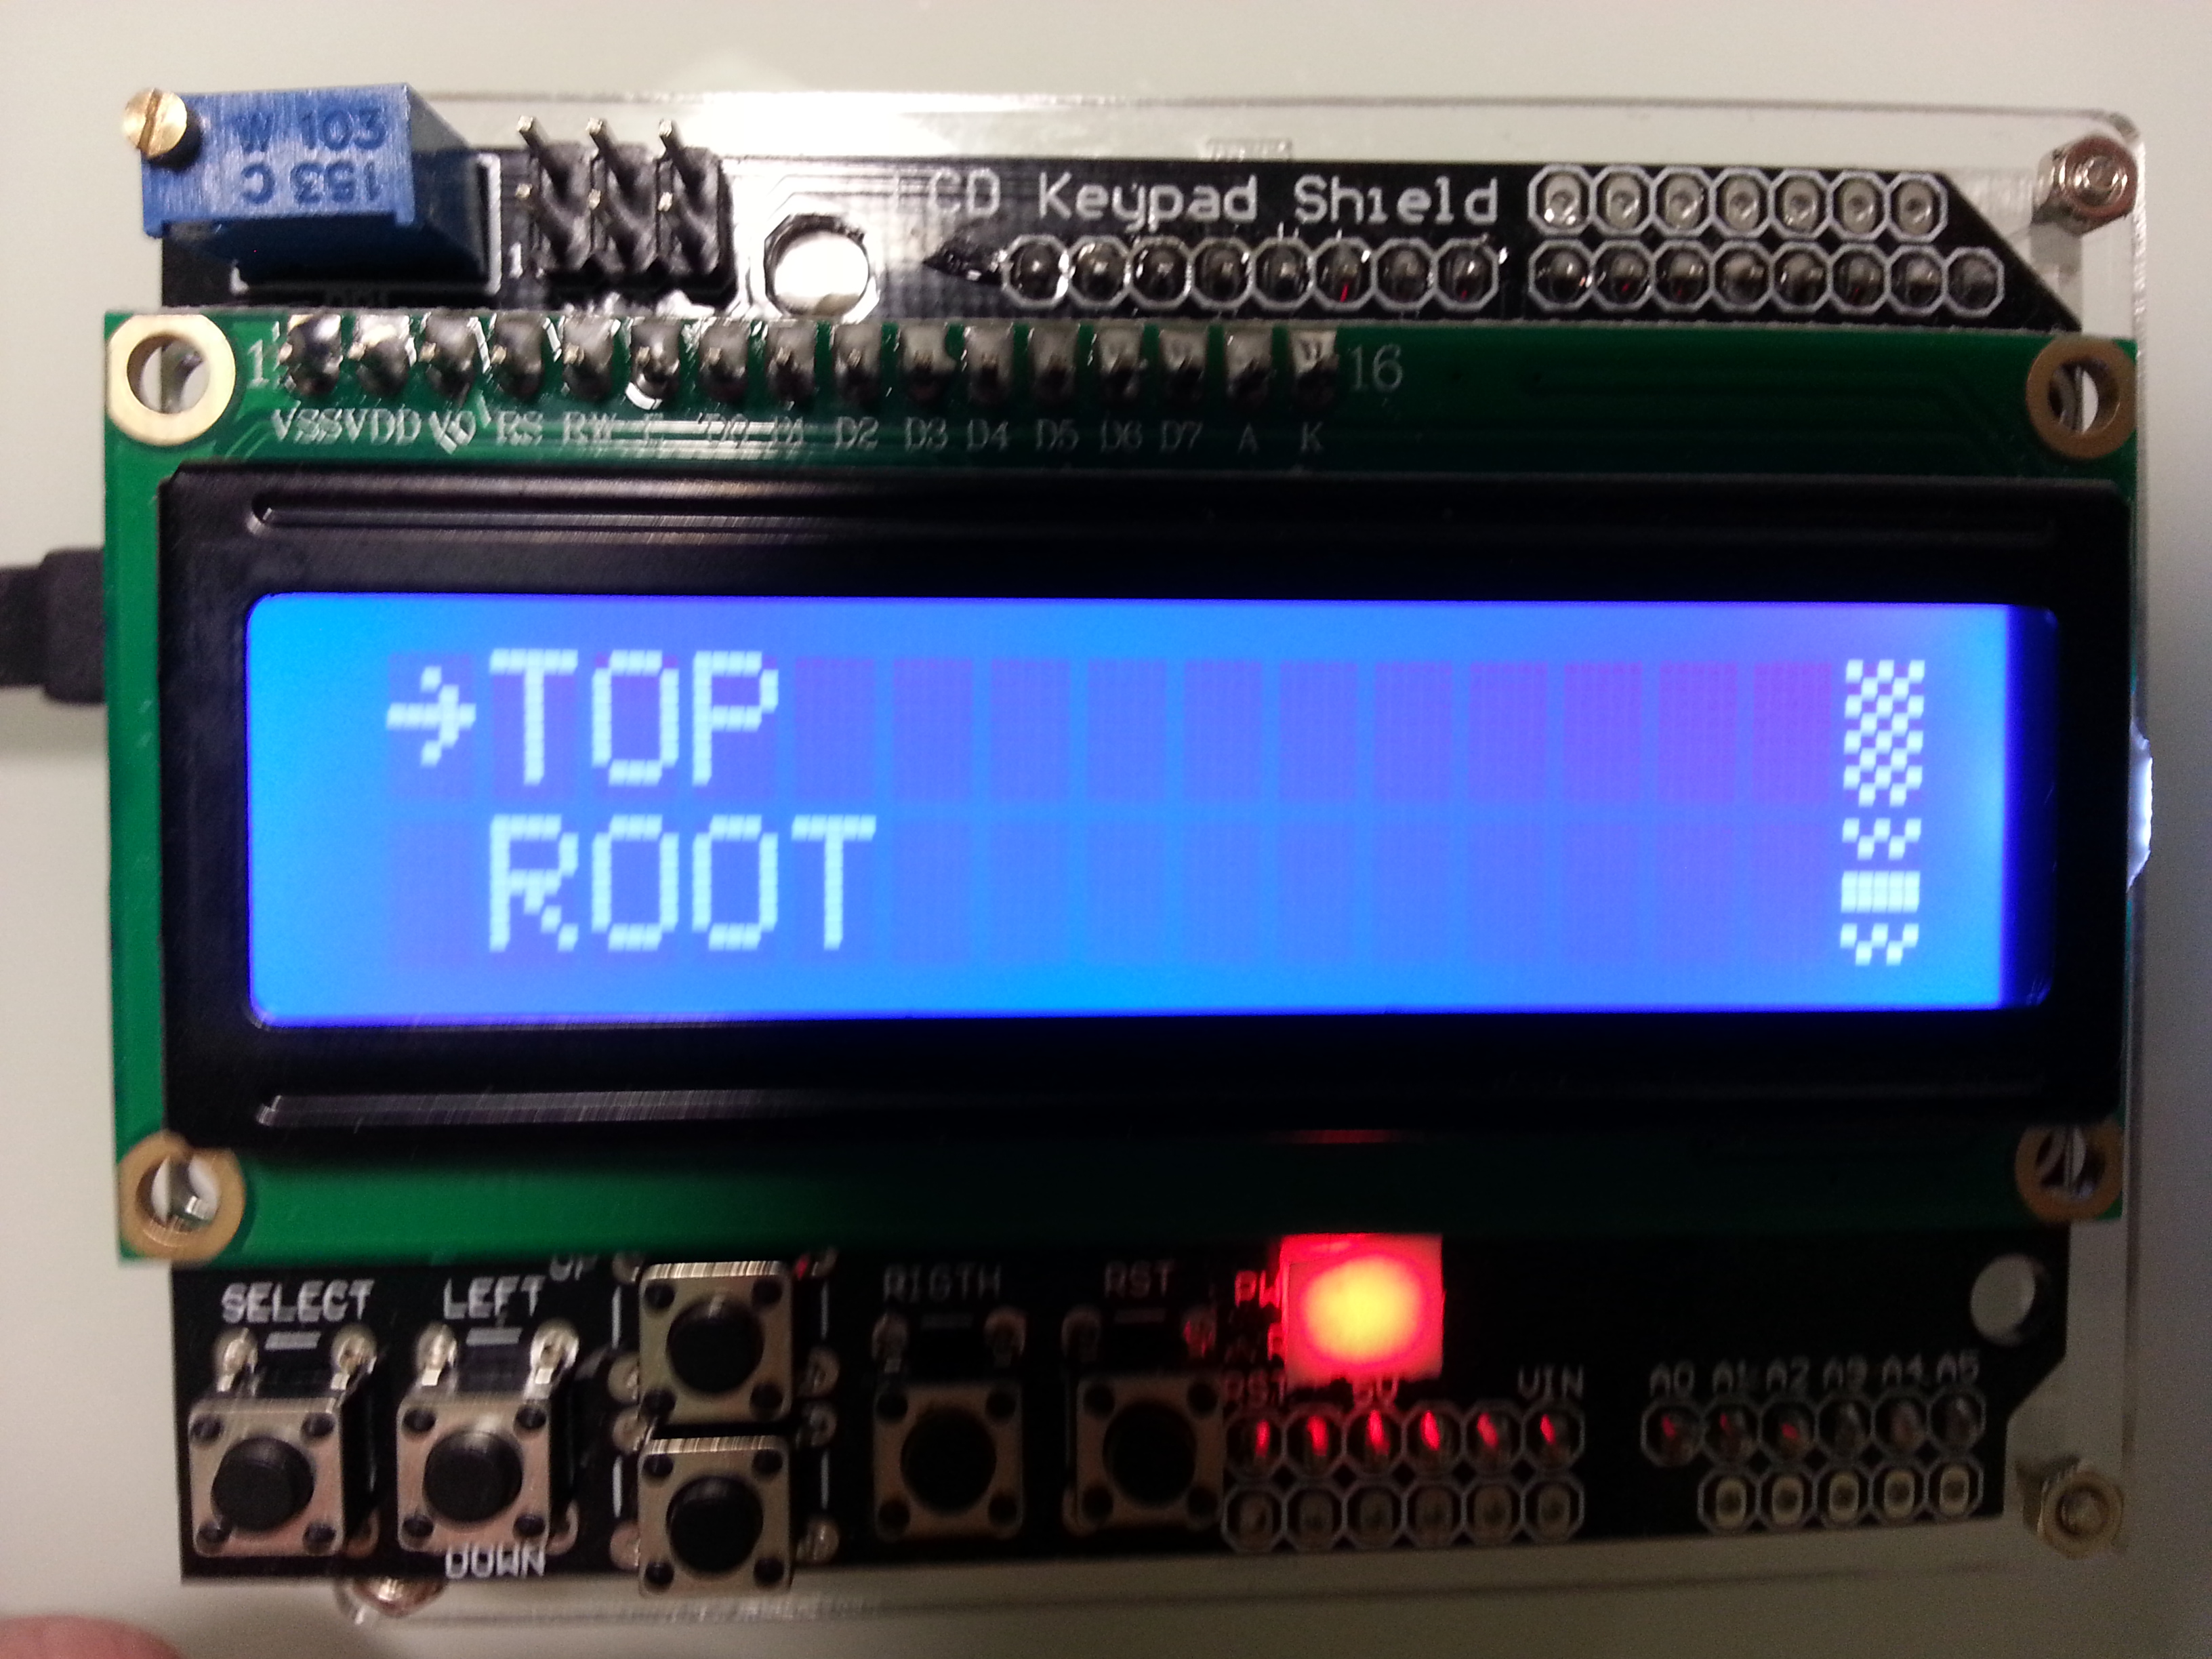
LCD KeyPad Shield + L-Menu System by Pavel Bandaletov
Requirements: Arduino Uno R3 / Mega256 or compatible, Arduino IDE, DFRobot LCD keypad shield or LCD1602/2004 LCD display with analogue keypad buttons (or separately)
Technical Specification:
800bytes RAM (20% of UNO R3) / 16Kb ROM (52% of UNO R3)
Menu sub levels - NO LIMITS
Functions on each item - YES
Modal functions outside menu - YES no limits
InMenu functions - YES no limits
Background function (one function used for Volume level) - YES
Universal functions for all kinds - YES
You can specify function, parameters, max, min values and step
Key analogue antilag - YES
Sublevels no limits - YES
Scrollable Long ites - YES
Navigation scrol bar - YES
VERY CUSTOMISABLE/ Minimal processing STDIN delay. No lags, no clear screen. Very fast working.


VERSION 2.0
Download:
https://yadi.sk/d/kOAx90GFVtyq_w
License - Free
Project Video / Creating L-Menu System
Part 1. IN ENGLISH
Часть 1. ПО-РУССКИ
Часть 2 / Part 2
RobotDyn UNO R3 + L-Menu + SoftPWM (A1-A5) + 5LED + DHT11
Часть 3 / Part 3
Mega256 + оригинальный шит DFRobot LCD Keypad + L-Menu + SoftPWM (A1-A5) + 5LED + Bonus
Часть 4 / Part 4
Mega256 + оригинальный шит DFRobot LCD Keypad + L-Menu + SoftPWM (A1-A5) + 5LED + Encoder + Tone Buzzer + Mario bonus!
Часть 5 / Part 5
Добавлена подпрограмма установки времени и безлимитного количества будильников
Часть 6 / Part 6
Улучшена программа установки времени и будильников. Добавлена программа ввода текста (для паролей к примеру)
Часть 7 / Part 7
Оптимизация памяти, ошибок, вырезаны лишние функции, добавлен популярный I2C модуль часов RTC DS3231 на A4 и A5 пины, для совместимости с UNO / NANO пришлось ограничится 3-мя светодиодами управляемыми SoftPWM (Софтверный ШИМ)
В планах подключение экрана по I2C, SoftPWM по I2C и компиляция для NANO.